Moving a struggling office plant into a fresh container often feels like the ultimate cure-all for workplace greenery that has stopped growing or starts dropping leaves. Yet office managers frequently rush this process, choosing containers that are far too large or disturbing fragile root systems during peak stress periods like winter heating cycles. A successful repotting guide focuses less on arbitrary calendars and more on reading the physical signals your desk plants or reception ferns provide. When you understand what is happening beneath the soil surface, you can time your interventions to match natural growth cycles rather than fighting against HVAC drafts and low light.
At a Glance
- Repot when roots circle the pot or emerge from drainage holes.
- Choose containers only one to two inches wider than the current pot.
- Use well-draining potting soil rather than heavy outdoor garden dirt.
- Spring and early summer offer the safest recovery window for most plants.
Why Office Plants Need a Different Approach
Caring for living greenery inside a corporate or home office environment introduces unique stressors that traditional gardening advice rarely addresses. Office windows, fluorescent lighting arrays, and constant climate control systems create an artificial microclimate. Soil dries out differently under sustained air conditioning or heating, and plants often sit in stagnant air for days over the weekend. These factors influence how roots develop and how quickly nutrients deplete in a container.
In a typical office setting, soil compaction happens faster because tap water often contains minerals that accumulate in the restricted space of a decorative planter. Over time, these mineral salts coat the root tips and prevent proper water uptake. When you follow a standard repotting guide, you must account for these indoor constraints. For instance, an open office with heavy foot traffic and dry air will dry out fresh potting mix differently than a humid greenhouse or a residential living room.
Furthermore, workspace environments present unique layout challenges. Desk plants might experience constant vibration from nearby keyboards, while plants in conference rooms endure erratic watering schedules depending on who booked the room last. Office managers must treat indoor plant maintenance not as a casual weekend hobby, but as a systematic facility upkeep task. Recognizing how office HVAC systems accelerate moisture evaporation helps you adjust your soil selections. Traditional garden soil will bake into a concrete-like brick under continuous indoor heating, suffocating the root system. Instead, understanding the mechanics of indoor plants means relying on loose, friable mediums that maintain stable gas exchange even when watering routines become inconsistent.
Recognizing the Signs It Is Time for Fresh Soil
Knowing when to intervene prevents unnecessary plant shock. Many office workers wait until a plant looks severely wilted before taking action, while others disturb stable plants every single year out of habit. A balanced approach relies on physical inspection rather than guesswork.
Visible Root Crowding
The most reliable indicator is physical root behavior. If you lift the nursery pot out of its decorative ceramic outer container and see thick roots spiraling densely around the bottom or pushing aggressively out of the drainage holes, the plant has exhausted its available root space. At this stage, the root mass has often displaced most of the soil, leaving little medium to hold moisture or nutrients.
When roots run out of lateral and downward space, they turn inward and form a dense, fibrous mat. In professional settings, this phenomenon often leads to sudden water shedding. Because the root ball is so tightly packed, watering your office snake plant or pothos becomes ineffective; the water simply channels down the inner walls of the cache-pot without ever penetrating the root core. Regularly inspecting the base of your workspace greenery allows you to catch this root bound state before chlorosis or severe leaf drop begins.
Stalled Growth and Rapid Drying
When a healthy plant suddenly stops putting out new leaves during its active growing season despite receiving adequate light and water, the root system is usually constrained. Another common red flag is rapid water runoff. If water pours straight through the pot and out the bottom within seconds of watering, the soil has likely become hydrophobic or root-bound, failing to retain the moisture your office plants need to thrive.
In practice, office managers often misdiagnose this symptom as a simple lack of fertilizer. They pour liquid plant food into dry, exhausted soil, which only burns the already stressed root tips with concentrated salts. A truly comprehensive repotting guide emphasizes that nutritional deficiencies in office environments are frequently just a symptom of exhausted, compacted growing media. Once you replace that depleted substrate with fresh, nutrient-balanced potting mix, the plant regains its natural ability to process water and micronutrients efficiently.
A Practical Readiness Framework
Before gathering tools, evaluate whether your plant is genuinely ready for a transition. Not every declining plant needs a larger container. Sometimes, a simple top-dressing of fresh compost or soil is enough to revitalize a tired desk plant without shocking its root structure.
| Observation | What It Means | Recommended Action |
|---|---|---|
| Roots circling the inner pot tightly | Container capacity reached | Move up one container size |
| Water runs straight through instantly | Soil has degraded or root-bound | Repot and loosen outer roots |
| Slow growth despite good light | Nutrient depletion | Repot or refresh top layer of soil |
| Yellowing leaves and soggy soil | Poor drainage or root rot | Inspect roots, trim decay, use fresh soil |
Applying this framework in a corporate setting saves labor hours and prevents accidental plant loss. For instance, if an office fern shows yellowing lower fronds due to dry winter air rather than root confinement, moving it into a massive new container will only worsen its condition by keeping surrounding soil wet for too long. Evaluating the root-to-soil ratio before picking up a trowel ensures that every intervention directly targets the root cause of the plant’s distress.
Step-by-Step Execution for Workplace Greenery
When the assessment confirms that a transition is necessary, methodical preparation makes the process smooth and clean enough for an office environment. Lay down protective sheeting or use a utility cart to keep desks and breakrooms tidy.
1. Select the Right Container Size
A common mistake is jumping from a six-inch pot straight to a twelve-inch pot in hopes of giving the plant room to grow. This excess soil holds too much moisture for too long, leading directly to root rot in low-light office conditions. Always select a new pot that is only one to two inches wider in diameter than the current root ball.
When you place a small plant into an oversized vessel, the unused soil remains wet long after the surface has dried. In typical office environments with limited natural sunlight, this soggy zone becomes a breeding ground for fungus gnats and anaerobic bacteria. Respecting the one-to-two-inch rule ensures that roots expand outward at a natural pace, colonizing the new medium before it has a chance to sour.
2. Prepare the Soil and Tools
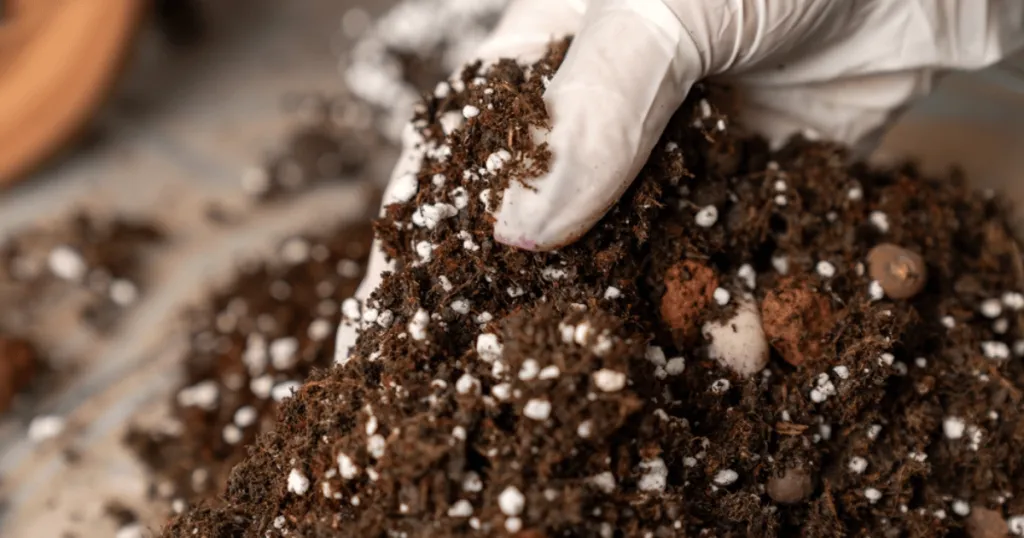
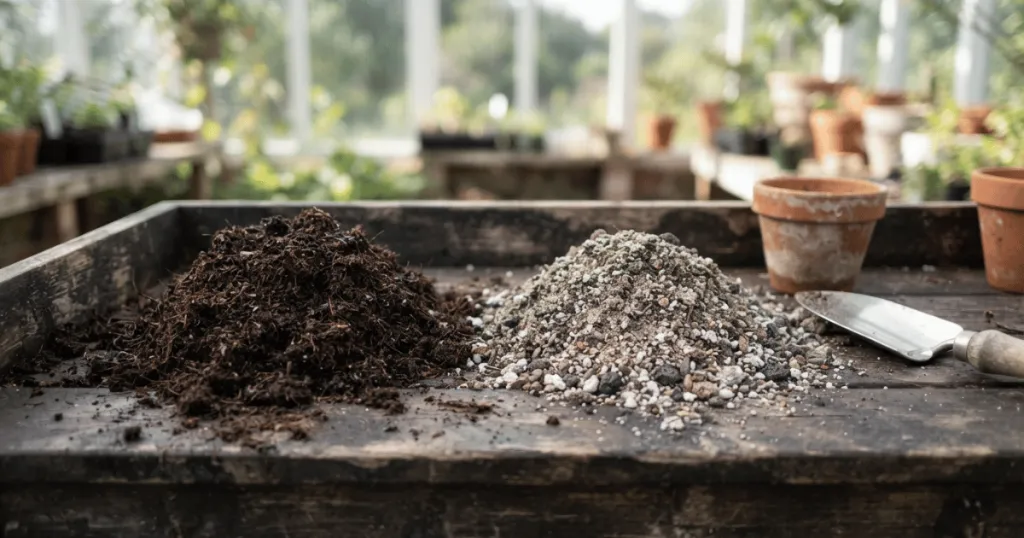
Avoid garden soil dug up from outdoor beds, as it compacts too tightly in indoor containers and may harbor pests. Use a lightweight, sterile potting mix formulated for indoor tropicals, often incorporating perlite or orchid bark to ensure proper aeration. Ensure your new container features at least one functional drainage hole.
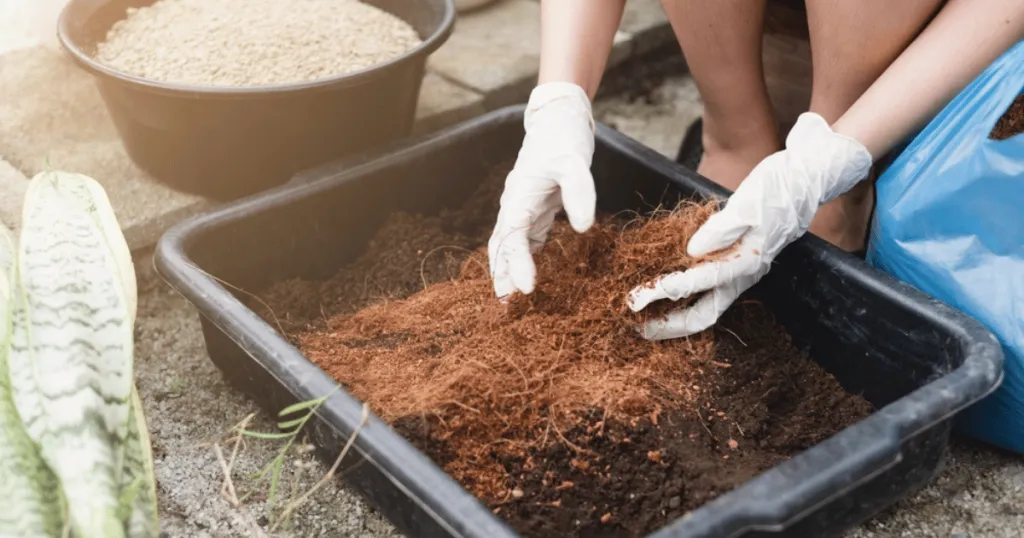
Gathering your supplies beforehand is essential when working in shared office spaces. Lay out a plastic tarp or a large tray in a breakroom or back office to catch stray soil particles. Having clean shears, your chosen potting mix, and the new nursery pot within arm’s reach minimizes disruption to surrounding desks and keeps the cleanup process fast and efficient.
3. Gently Release and Inspect the Root Ball
Tilt the current pot sideways and gently ease the plant out, supporting the base of the stems. Avoid pulling the plant violently by its foliage. Once free, use your fingers to gently tease apart tightly wound or circling roots, encouraging them to point outward rather than locking into a tight circle.
This physical intervention breaks the memory of the old pot. If roots are left in their tight circular configuration, they may continue to grow in a restrictive loop even inside the larger container, failing to anchor the plant properly. Take time to inspect the root health during this step: firm, white, or light-tan roots indicate a healthy specimen, while mushy, dark, or foul-smelling roots signal root rot that requires careful trimming with sterilized shears.
4. Settle and Water In
Add a base layer of fresh soil into the new container, place the plant at the same depth it sat previously, and fill in the sides with fresh mix, tamping down gently to eliminate large air pockets. Water thoroughly until it drains out the bottom, allowing excess water to clear completely before returning the plant to its display area.
Tamping the soil should be done with moderate pressure rather than heavy compaction. Your goal is to secure the plant upright without crushing the delicate air channels within the potting mix. After the initial thorough soaking, let the plant drain completely on a tray before putting it back into its decorative cache-pot. Never let a freshly potted plant sit in a pool of standing water over the weekend.
Common Pitfalls and Office Realities
Even with careful preparation, several workplace-specific habits can derail a successful plant transition. Being aware of these pitfalls helps you protect your office investment.
The most frequent error is ignoring drainage. Decorative ceramic pots without holes are popular in corporate spaces for aesthetic reasons, but planting directly into them guarantees trapped water and root decay. Always keep plants in plastic nursery pots with drainage holes inside your decorative outer cache-pots.
Another pressure point is timing. Office managers often tackle plant maintenance during slow winter months when the office is quiet. However, plants kept in low winter light and heated indoor air are already under metabolic stress. Forcing a root transition during this dormant window makes recovery difficult. Whenever possible, align your maintenance schedule with the natural spring surge in plant vigor.
Consider also the physical placement of your newly repotted specimens. Freshly transplanted greenery is temporarily vulnerable as its root hairs re-establish contact with the surrounding substrate. Placing a newly repotted plant directly in the path of a harsh overhead air vent or an automated door draft can cause immediate leaf scorch and desiccation. Give your plants a sheltered, stable location for a week or two following their transition before returning them to high-traffic zones like reception desks or busy corridors.
Reflection Questions for Workplace Decision Makers
Before purchasing new supplies or moving every plant in the conference room, pause to evaluate your specific setup. These questions help determine if you are solving the right problem:
- Are the current containers actually full of roots, or is the plant simply reacting to seasonal light changes near the office windows?
- Do our decorative containers allow for proper drainage, or are we trapping standing water at the bottom of the cache-pots?
- Do we have a dedicated, clean space to perform maintenance without disrupting daily business operations?
- Is the plant in a high-traffic hallway where passing colleagues might brush against and destabilize freshly settled soil?
Answering these questions objectively prevents wasted labor and ensures that your indoor greenery program remains sustainable. By treating plant health as an integral part of facility management, you minimize replacement costs and foster a consistently vibrant, welcoming workplace atmosphere.
Conclusion
Maintaining vibrant greenery in a professional environment requires a blend of practical care techniques and a solid grasp of indoor plant biology. By observing physical root cues, choosing appropriate container sizes, and timing your updates thoughtfully, you can keep your workspace looking healthy year-round. A thoughtful repotting guide removes the guesswork from plant care, ensuring your office flora remains a resilient asset rather than a constant maintenance headache.
FAQ
How do I know if my office plant has outgrown its current pot?
Look for roots emerging from the bottom drainage holes, roots circling tightly around the soil surface, or water running straight through the pot without moistening the medium.
Can I repot office plants during the winter months?
It is generally best to wait until spring or early summer. Winter heating and lower natural light levels reduce plant metabolism, making it harder for roots to recover from the transition.
What type of soil works best for indoor office plants?
Use a sterile, well-draining indoor potting mix formulated with ingredients like peat, perlite, and bark to prevent soil compaction and ensure adequate oxygen reaches the roots.
Why is my plant dropping leaves after I moved it to a larger container?
Leaf drop is a common sign of transplant shock. It usually happens when roots are disturbed too aggressively or when the new container is too large, causing the soil to stay wet for too long.