Transforming a single leggy office pothos or philodendron into a thriving collection of desk greenery does not require purchasing new specimens or expensive equipment. Water propagation step-by-step gives workplace managers and desk workers a reliable method to clone existing office plants using simple glass jars, clean water, and ambient indoor lighting. Whether you want to fill an empty corner in a reception area or add fresh life to an open-plan cubicle, mastering this technique allows you to multiply your indoor foliage with very little effort.
Understanding how stems generate roots in plain water helps bridge the gap between casual pruning and successful plant reproduction. In an office environment, where natural sunlight is often replaced by fluorescent or LED overhead fixtures, choosing the right cutting and maintaining clean conditions makes all the difference between a thriving new plant and a rotting stem.
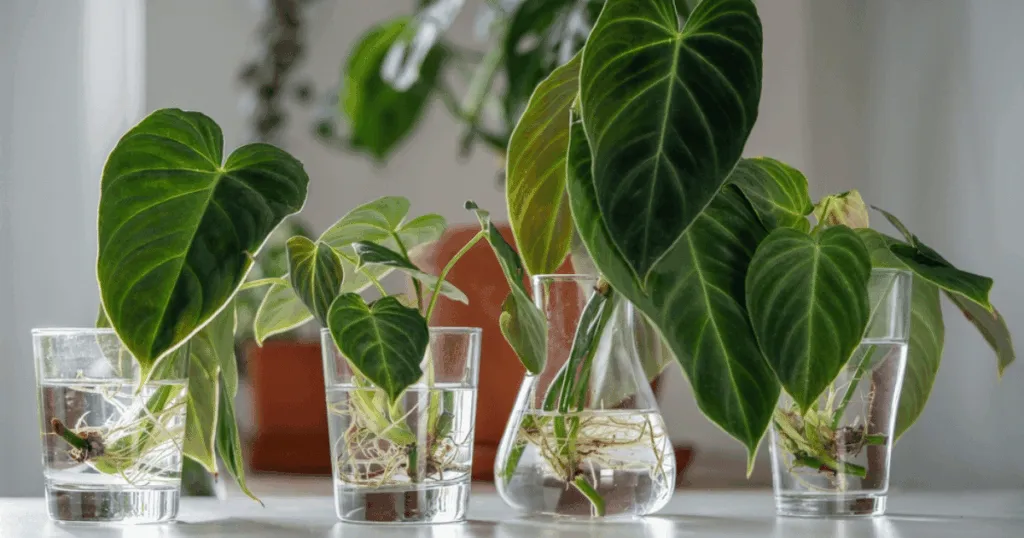
Preparing Your Office Plants for Propagation
Before cutting into any plant, you need to evaluate the health and vigor of the parent stock. Healthy, pest-free stems produce the strongest root systems. Selecting the correct node is the most critical factor in this process, as roots emerge almost exclusively from these concentrated bundles of cellular growth material. When you approach a large workplace specimen like a snake plant, ZZ plant, or heartleaf philodendron, inspecting the architecture of the vine prevents wasted effort. You want stems that feature active, vibrant growth rather than woody, exhausted sections.
In office settings, plants often grow unevenly because light usually comes from one directional angle, such as a side window or overhead strip lighting. This uneven growth pattern means you may find long stretches of vine with few leaves, followed by dense clusters. Focus your attention on sections that show active cellular division. Furthermore, consider the physiological state of the parent plant. If the specimen has recently undergone severe drought stress from being ignored over a long three-day holiday weekend, pause and let it recover for a couple of weeks before taking cuttings. Stressed parent stock yields weak cuttings that struggle to develop a functional root system in a glass propagation vessel.
Identifying the Proper Cutting Node
Look along the stem of your office plant for the small brown bumps or raised rings where leaves attach to the main vine. This is the node. Always make your cut about a half-inch below this node using sterilized shears or scissors. Cutting too close to the node can damage the vital tissue, while leaving too much stem above it can cause unnecessary decay in the water.
The node contains dormant meristematic cells capable of transforming into root tissue when exposed to moisture and oxygen. If your cutting lacks a node, the stem will simply remain alive in the water for weeks without producing any roots, eventually exhausting its stored energy and expiring. For trailing species like pothos and philodendron, each leaf junction typically houses a viable node. For upright office varieties, you may need to look closer at the main stalk where previous leaves have dropped off, leaving distinctive scars that function identically to nodes.
Sanitizing Tools and Selecting Vessels
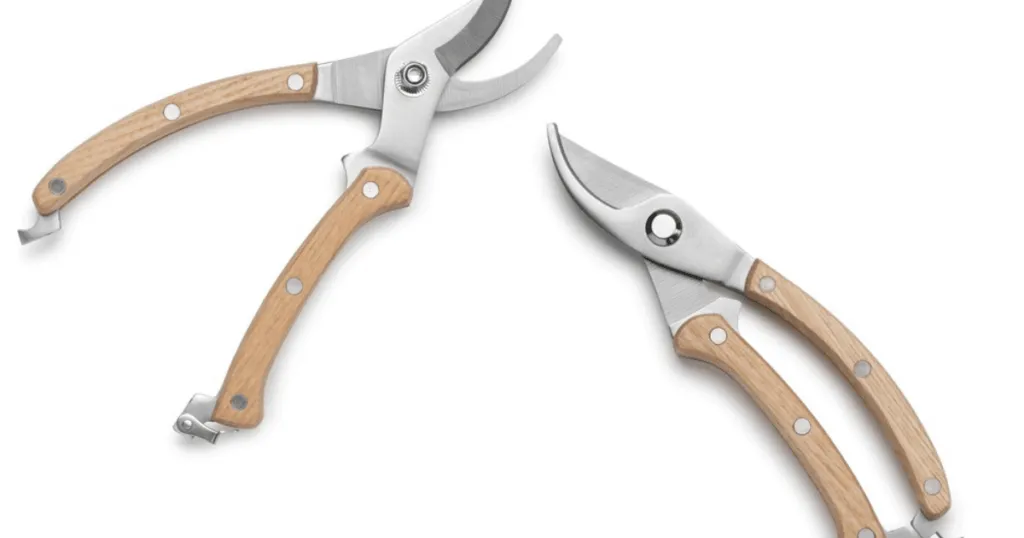
Office environments harbor dust and bacteria, so wiping down your cutting shears with rubbing alcohol prevents pathogens from entering the open plant wounds. For the container, clear glass jars, beakers, or vases work best because they allow you to monitor root growth easily without disturbing the cutting. Wash any recycled glass container thoroughly with soap and warm water before filling it.
The choice of vessel matters more than appearance. Avoid porous containers like unglazed ceramic or scratched plastic, which trap microscopic algae and bacteria in tiny surface crevices. Transparent glass lets you inspect water clarity at a glance, signaling immediately when it is time for a refresh. Additionally, narrow-necked vessels help support upright stems, keeping the leaves above the water line while immersing only the lower nodes below the surface.
Executing Water Propagation Step-by-Step
Once your cuttings are prepared, the actual rooting process is straightforward, but it requires patience and consistent monitoring. Follow these core phases to guide your plant from a bare stem to a potted specimen ready for office soil. Successful rooting plant cuttings in water relies heavily on maintaining steady environmental parameters throughout the business week and during unattended weekends.
Initial Placement and Lighting
Place your glass propagation vessels in a spot that receives bright, indirect light. Office desks near north-facing windows or workstations well-illuminated by full-spectrum LED desk lamps are ideal. Avoid direct, harsh sunlight streaming through southern windows, as this can overheat the water in clear glass containers and cook the developing roots, leading to rapid algae growth and stem rot.
Because fluorescent and LED office lighting lacks the intensity of direct outdoor sunlight, positioning your glass containers within two to three feet of a desk lamp ensures the cuttings receive sufficient energy for photosynthesis. Keep in mind that office buildings often turn off central climate control and dim overhead lights during weekends. While normal indoor temperatures are usually fine, avoid placing propagation jars directly beneath blasting HVAC vents or beside exterior windows where nighttime drafts can cause sharp temperature drops.
Water Maintenance and Hygiene
Change the water in your propagation vessels every five to seven days to maintain high oxygen levels and prevent bacterial buildup. Tap water is generally acceptable for most hardy office plants, but letting it sit out overnight to allow chlorine to dissipate is a helpful extra step. Whenever you change the water, gently rinse the lower stem to remove any slimy residue that naturally accumulates.
Water stagnation is the primary enemy of successful indoor gardening. As the cutting sits in the vessel, organic compounds leach from the cut end into the water, feeding microscopic organisms that deplete dissolved oxygen. Regular fluid replacement ensures that delicate new root hairs receive the oxygen they need to respire and grow. If you notice a sulfurous odor or cloudy discoloration before the weekly mark, change the water immediately and wash the container.
Monitoring Root Development
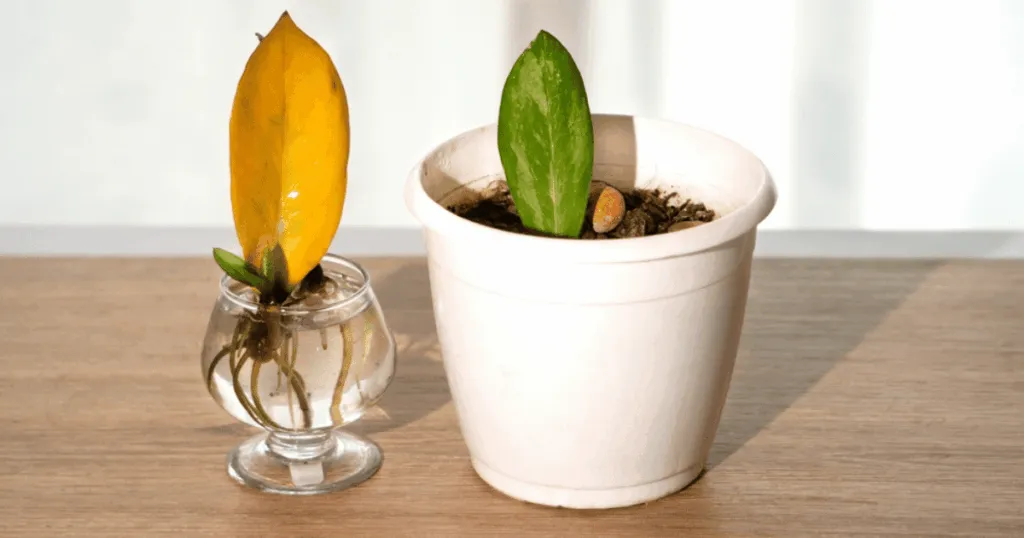
New white or translucent roots should begin to emerge from the nodes within two to four weeks, depending on the plant species and ambient indoor temperature. Allow these primary roots to branch out and develop secondary root hairs. A common mistake is transferring cuttings into potting soil too early, before the root system is robust enough to handle a denser medium.
Observing propagating indoor plants through clear glass provides a fascinating look at plant biology. You will first see tiny white swellings at the node, followed by lengthening root tips. Resist the temptation to plant them the moment the first root appears. Waiting until the root system features a network of branching strands ensures the specimen can successfully transition from an aquatic lifestyle to a terrestrial one.
Transitioning Water Roots to Office Soil
Moving water-grown roots into soil is a delicate milestone. Water roots adapt differently to soil than roots grown directly in earth from the start, requiring a brief adjustment period after planting. Understanding how to propagate plants successfully involves mastering this critical bridge between water and dirt.
Preparing the Potting Mix
Use a well-draining indoor potting mix enriched with perlite or orchid bark to ensure adequate aeration around the tender new roots. Heavy, dense garden soil will suffocate water-adapted roots and cause transplant shock.
When selecting your planting medium, avoid outdoor topsoil or heavy compost meant for garden beds. These retain too much moisture and often contain insect eggs or fungal spores that thrive in warm office environments. A light, airy commercial indoor blend allows water roots to spread easily without meeting dense resistance.
Managing Soil Moisture After Planting
Plant your rooted cutting in a container with a proper drainage hole. Water the soil thoroughly right after planting to help settle the earth around the roots, then keep the soil evenly moist for the first ten to fourteen days. Because these roots grew in pure water, they initially need higher moisture levels while they adapt to extracting water from soil particles.
Over the course of three weeks, gradually taper off the watering frequency to match normal office plant care routines. Letting the soil dry slightly between waterings encourages the roots to anchor deeper into the pot in search of moisture, establishing a resilient root system that can withstand the occasional missed watering when your office closes for a long weekend.
Troubleshooting Common Propagation Failures
Even with careful attention, cuttings can occasionally stall or fail. Knowing how to diagnose early warning signs saves time and prevents frustration.
Stem Rot and Murky Water
If the water turns cloudy, smells foul, or the bottom of the stem turns brown and mushy, rot has set in. Remove the cutting immediately, cut away the decayed portion of the stem back to healthy green tissue, rinse the vessel thoroughly, and restart the process with fresh water.
Stem rot usually stems from insufficient oxygen or failing to remove lower leaves that end up submerged beneath the water line. Any leaf tissue left underwater will decompose rapidly, introducing destructive bacteria that attack the healthy stem nodes above.
Stalled Growth Under Low Light
If weeks pass with no root emergence, the culprit is usually insufficient light or overly cool indoor temperatures caused by aggressive air conditioning vents. Move the vessel closer to an active light source or a warmer interior wall to stimulate metabolic activity.
FAQ
How long do office plant cuttings need to stay in water before planting?
Most cuttings are ready for soil when their roots reach two to three inches in length, which usually takes between four to six weeks. Waiting for secondary roots to branch out from the main roots ensures the plant can absorb nutrients effectively once transitioned to soil.
Can I propagate office plants using tap water directly from the breakroom sink?
Yes, tap water is suitable for most common office plants. However, if your municipal water supply has high chlorine or mineral content, filling a container and letting it sit uncovered overnight allows chemical additives to evaporate before you submerge your plant cuttings.
Do I need to use rooting hormone for water propagation?
Rooting hormone is generally unnecessary for water propagation because the stem has continuous access to moisture. Hormones are more beneficial when planting cuttings directly into soil mixes where moisture control is harder to maintain.
Why are the lower leaves of my cutting turning yellow in the water?
Lower leaves often yellow and drop because the cutting is redirecting its stored energy toward root production. If submerged leaves touch the water, they will also rot quickly, so always prune away any lower foliage before placing the stem in your glass vessel.