Expanding a workspace collection without increasing overhead starts long before any cutting takes place. The single decision that determines whether propagation succeeds or fails is identifying a healthy mother plant with active growth nodes and strong stems. Office environments present unique challenges like artificial fluorescent or LED illumination, constant HVAC air circulation, and weekend neglect. Choosing the right stems under these indoor conditions means evaluating node spacing, leaf color, and root vitality before reaching for pruning shears.
When learning how to propagate office plant specimens, office workers and facility managers must adapt traditional horticulture rules to commercial real estate realities. Cubicles do not offer southern greenhouse glass exposure, and breakrooms experience fluctuating temperature drops when weekend energy-saving protocols kick in. Mastering this craft requires understanding how biological node structures interact with office light spectra and HVAC airflow, ensuring that your desk greenery multiplication efforts yield resilient new specimens instead of rotting stems.
The Short Version
To successfully multiply indoor greenery, select a healthy stem with active nodes, make a clean cut below a node, and root the cutting in water or moist sphagnum moss while managing low office humidity and artificial lighting.
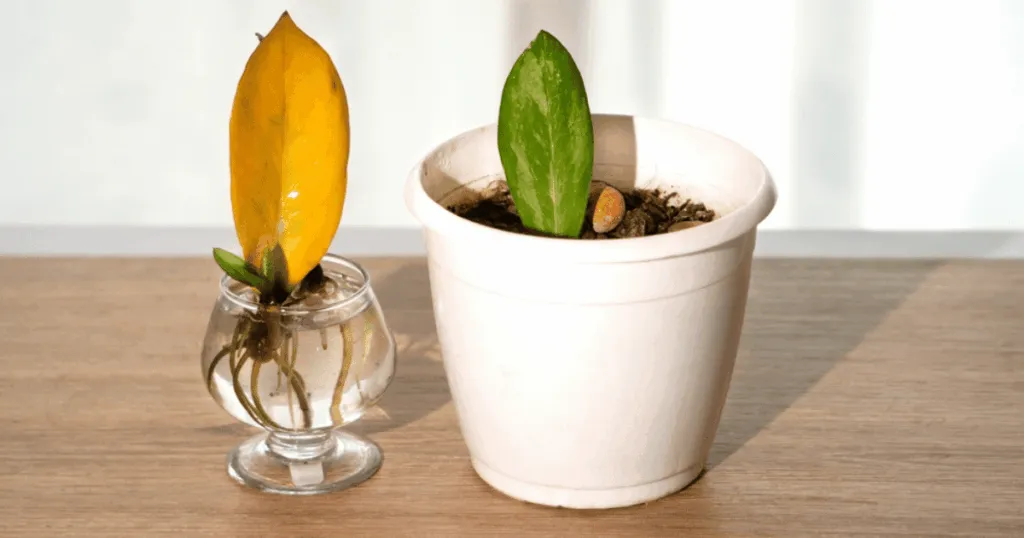
Before You Start
Preparing for indoor propagation requires an honest assessment of your workspace environment and the tools you have on hand. Office plants such as pothos, snake plants, and philodendrons respond well to vegetative propagation, but they need time and stable conditions to root properly.
Check the health of your source plant first. If your desk plant is currently battling spider mites, dealing with severe root rot, or struggling against deep shade from a windowless corner, do not take cuttings yet. Stressed mother plants yield weak cuttings that fail to root under dry office conditions. Let the parent plant recover for a few weeks before attempting any division or stem cuttings.
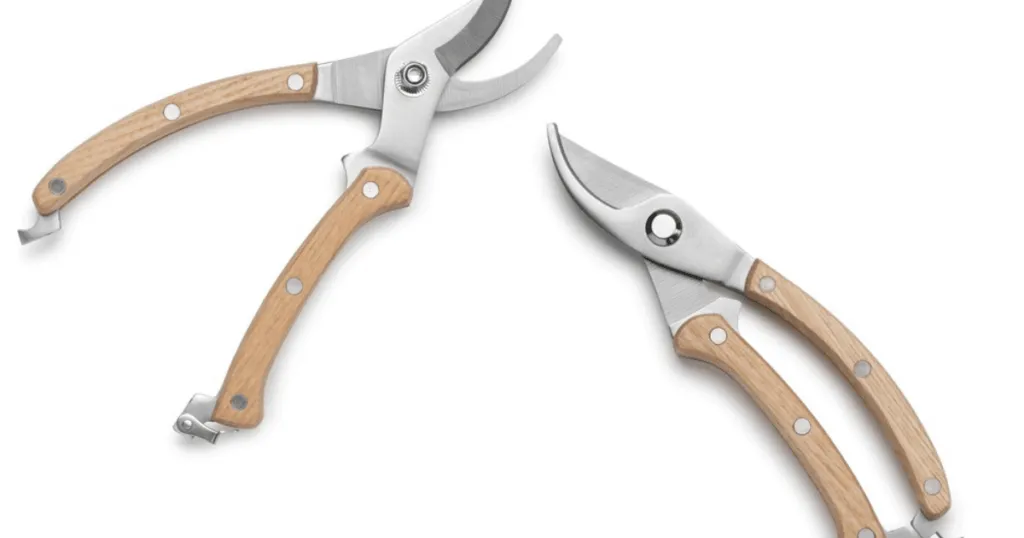
Gather your equipment before touching the plant. You will need sharp, clean pruning shears or scissors, clean glass jars or propagation stations, fresh tap water left out overnight to dechlorinate, and optional rooting hormone powder. Avoid using dull kitchen knives or unsterilized shears that can crush vascular tissue and introduce bacterial rot into the cutting site.
Tools, Context, and Prerequisites
Office spaces operate differently from greenhouses or home sunrooms. Understanding these physical constraints helps you choose the right propagation method for your specific workplace setting.
Lighting is the primary variable. Most cubicles and open-plan offices rely on overhead fluorescent or LED lights rather than direct sunlight. Because artificial light intensity is much lower than natural outdoor light, root formation often takes longer in an office than at home. Placing your cuttings near a desk lamp or a south-facing window sill in a communal breakroom can accelerate root development.
Humidity is another factor. Commercial HVAC systems pull moisture out of the air, creating dry microclimates that can dry out exposed cutting tips. If your office air is exceptionally dry, you may need to cover water propagation jars with a clear plastic bag or use a small terrarium container to trap ambient humidity around the emerging roots.
When executing office plant propagation steps, you must also consider workspace layout constraints. Avoid placing glass propagation vessels in high-traffic corridors where papers or elbows might knock them over. Designating a stable corner of your desk or a dedicated communal shelf protects your developing specimens from accidental spills and disruptions.
Furthermore, operational schedules dictate how you monitor these fragile divisions. Because workplaces undergo multi-day unattended stretches over weekends, your prep work must account for evaporation rates in open water vessels. Adding an extra inch of water on Friday afternoon prevents exposed nodes from drying out before Monday morning routines resume.
Step-by-Step Propagation Instructions
Successful vegetative multiplication relies on a predictable sequence of steps. Follow this process to turn a single office pothos or philodendron into multiple thriving specimens.
1. Locate and Inspect the Nodes
Examine the stems of your office plant to find the nodes. A node is the small, slightly swollen bump on the stem where leaves and aerial roots emerge. Every successful cutting must include at least one healthy node, because this is where new root tissue and shoot growth originate. Cutting a stem with only bare green vine and no nodes will result in a dead cutting that eventually decays in water.
When propagating pothos in office settings, look for stems that feature prominent brown bumps or small root primordia along the vine. These specialized cells are primed for rapid transformation when submerged in water or pressed into moist potting mix. Selecting vines with tight internodal spacing ensures that your final potted plant will look full and bushy rather than long and leggy.
Evaluate the thickness of the stem segments as well. Thicker, semi-woody stems store more internal carbohydrates, giving the cutting a better energy reserve to survive the initial shock of being severed from the mother plant under dim office lighting.
2. Make a Clean Cut
Sanitize your shears with rubbing alcohol or soap and hot water. Select a vigorous stem that is at least four to six inches long. Make a sharp, clean cut just below the target node at a slight angle. Avoid crushing or tearing the stem fibers, as ragged wounds are more susceptible to fungal pathogens and bacterial soft rot while sitting in standing water.
Making a sloped cut rather than a flat, horizontal cut also increases the surface area available for water absorption and root initiation while preventing water from pooling directly on top of the cut stem face, which can invite microbial decay.
3. Prepare the Stem for Rooting
Strip away any lower leaves that would otherwise sit submerged below the waterline in your propagation vessel. Leaving leaves underwater causes them to rot quickly, which fouls the water, introduces anaerobic bacteria, and suffocates the developing root system. Keep only one or two upper leaves on the cutting to sustain minimal photosynthesis.
Check that no petiole stubs or leaf fragments remain attached to the lower nodes. Clean node surfaces allow direct contact between plant tissues and your rooting medium, speeding up the cellular transformation required to generate healthy root tips.
4. Place in Water or Moss
Submerge the cut end and nodes of your prepared stem into a clean glass jar filled with fresh, room-temperature water. If you prefer soil or sphagnum moss propagation, insert the prepared stem directly into a small pot filled with damp, well-aerated potting mix. Ensure that at least one node is buried beneath the surface or submerged in water.
When using sphagnum moss in an office setting, squeeze out excess moisture so the moss is damp like a wrung-out sponge rather than waterlogged. This balance provides necessary hydration without cutting off the oxygen supply required by developing roots.
5. Manage Ongoing Care and Maintenance
Position your propagation containers in a bright spot with indirect light, such as a corner near an office window or directly under your desk task light. Change the water in water-propagation jars every five to seven days to maintain high oxygen levels and prevent algae growth. Monitor the water level and top it off as needed to keep the nodes fully submerged.
Maintain consistent temperature checks. If your office shuts off climate control on Friday evenings, ensure your jars are tucked away from cold exterior glass or direct drafts from overhead vents, which can stall the metabolic processes driving root growth.
Common Mistakes to Avoid
Even experienced office workers make predictable errors when multiplying indoor plants. Being aware of these pitfalls prevents wasted time and lost cuttings.
One frequent mistake is waiting too long to pot water-rooted cuttings into soil. Roots grown in water adapt to an aquatic environment and develop delicate structures. If you leave a cutting in water for months until the roots are six inches long with secondary branches, the plant will suffer severe transplant shock when moved into soil. Transfer water-propagated cuttings into a light potting mix once their roots reach one to two inches in length.
Another misstep is placing fresh cuttings in direct, scorching sunlight. While office plants need adequate light, intense, direct midday sun shining through a window can easily overheat the glass water jar, cooking the delicate submerged nodes and stalling root initiation entirely. Stick to bright, indirect illumination.
Ignoring office hygiene is another pitfall. Reusing unwashed jars or failing to refresh water can introduce pathogens that cause stem collapse. Always start with immaculate glassware and clean water to give your workspace greenery the highest possible survival rate.
Rushing the potting process without properly hardening off water roots can also cause failure. When transitioning aquatic roots to soil, keep the potting mix evenly moist for the first two weeks so the soft roots can gradually adapt to absorbing moisture from soil particles instead of pure water.
Troubleshooting Your Cuttings
When propagation stalls or problems arise, specific symptoms point directly to the underlying environmental issue.
Stems Turning Mushy and Brown at the Base
If the cut end of your stem becomes soft, translucent, or foul-smelling, root rot has taken hold. This usually happens when the water is not changed frequently enough or when submerged leaves decay. Immediately remove the cutting, use sterile shears to cut away all the mushy, rotting tissue well above the damaged zone, rinse the remaining healthy stem in clean water, and place it in a fresh, sanitized glass jar.
Root Growth Has Completely Stopped
If weeks pass with no visible root buds, the ambient temperature or light level is likely too low. Office buildings often drop their thermostat settings over weekends, causing ambient temperatures to dip below comfortable levels for tropical houseplants. Move your propagation setup to a warmer spot or supplement with an LED desk lamp to stimulate metabolic activity.
Lower Leaves Turning Yellow and Dropping
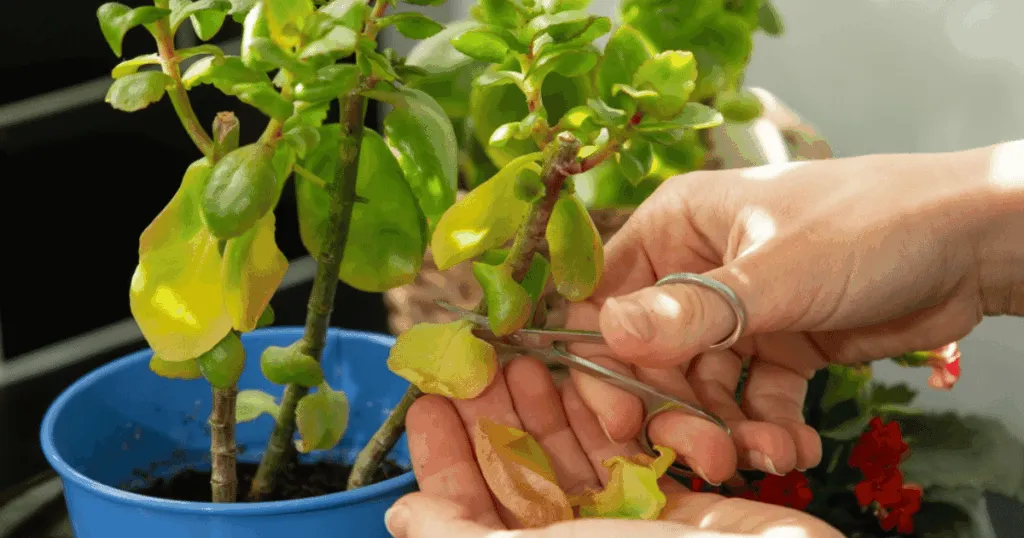
If the remaining upper leaves on your cutting turn yellow, the stem is likely expending all its stored energy trying to keep too much foliage alive while lacking an established root system. Trim off the yellowing leaves immediately to redirect the plant’s remaining biological energy toward generating new root tissue at the nodes.
When to Stop and Seek Professional Help
Most routine stem cuttings and leaf propagations can be handled easily at your desk during a quiet lunch break. However, if the entire parent plant is suffering from an advanced fungal infection, systemic pest infestation like mealybugs, or severe structural root rot, DIY propagation is unlikely to succeed. In such cases, discarding the compromised plant and sourcing a fresh, healthy specimen from a local nursery or interior landscaping professional is the most practical choice.
When propagating indoor plants at work, knowing your operational limits prevents wasted effort. If corporate facilities management schedules routine pesticide spraying or whole-building HVAC maintenance that creates extreme drafts, pause your propagation projects until stable indoor climate conditions return to the workspace.
FAQ
Can I propagate office plants using tap water straight from the breakroom sink?
Yes, but letting tap water sit in an open container for twenty-four hours allows chlorine and other treatment chemicals to dissipate, creating a gentler environment for sensitive cutting nodes.
How long does it usually take for office plant cuttings to grow roots?
Most common office plants like pothos and heartleaf philodendron show visible root buds within two to four weeks, though slower-growing species under artificial office lighting may take up to six weeks.
Should I use rooting hormone powder on water-propagated office plant cuttings?
Rooting hormone is generally unnecessary for water propagation because water allows roots to emerge naturally, but it can be beneficial if you are sticking your cuttings directly into soil or sphagnum moss.
What should I do if my office gets too cold over the weekend?
If weekend building thermostat setbacks cause indoor temperatures to drop significantly, move your propagation jars away from exterior walls and drafty windows onto an interior desk or shelf where residual warmth is retained.