When a resilient office plant suddenly collapses or begins to turn yellow at the base, the culprit is almost always rooted in a single misstep during the first few weeks on the desk. Because these architectural favorites tolerate neglect so well, people often slip into habits that trap moisture around their root systems. Getting snake plant care right starts with understanding that these structural specimens store water in their thick, fleshy leaves and rhizomes. When you treat them more like desert succulents than typical leafy office foliage, they remain upright and vibrant for years, even under fluorescent lighting and fluctuating indoor climates.
What You Need to Know
- Tolerates low light; grows best in medium to bright indirect light
- Let soil dry out completely between waterings; very drought-tolerant
- Tolerates dry office air and HVAC environments exceptionally well
- Easy difficulty level for beginners and busy office managers
- Mildly toxic to cats and dogs if chewed or ingested
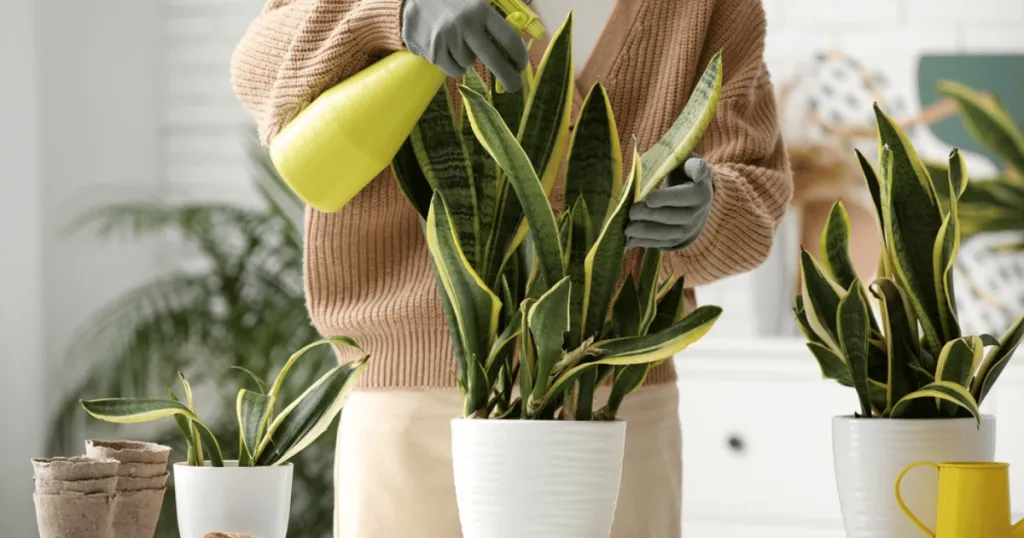
Light and Placement Strategies for Office Environments
Light is the engine that drives your plant growth, yet these versatile species tolerate a remarkable range of indoor conditions. In a typical workplace, you will find them tucked into dark interior corridors, sitting on open-plan desks far from windows, or positioned next to sunny perimeter glazing. While they survive in deep shade, true low-light survival is different from thriving. Under very dim fluorescent bulbs, growth slows to a near standstill, and the leaves may stretch or lose their distinct variegation. Our recommendation is to aim for medium to bright indirect light whenever possible to maintain rigid, upright growth.
When designing an indoor plant layout for corporate workspaces, understanding how light interacts with architectural elements prevents common placement errors. Office buildings often feature deep floor plates where natural daylight fades drastically just ten feet away from exterior windows. While Sansevieria care requires far less intensity than tropical alternatives, placing a pot in a pitch-black corner with zero ambient light forces the plant to rely entirely on internal energy reserves, eventually leading to etiolation or weak, leaning stems. Balancing aesthetic goals with functional workplace lighting ensures your greenery maintains its crisp, vertical silhouette.
Positioning Near Windows Versus Interior Desks
Placing your container near an east-facing or west-facing window provides ideal indirect exposure without scorching the foliage. If your office features north-facing glass, the plant will do fine, though growth will remain slow. South-facing windows require a bit more caution because intense afternoon rays can occasionally bleach or scald the leaves, particularly if the glass lacks a UV-tint. For windowless interior offices or deep reception areas relying entirely on artificial illumination, choose spots directly under overhead LED fixtures and expect to water even less frequently due to the lower rate of photosynthesis and evaporation.
In modern open-plan offices, desks are often arranged under bright overhead troffers. These fluorescent or LED grids provide a surprising amount of ambient photon energy, making open desks viable locations as long as the container does not block collaborative workspace. However, if your desk sits in a cubicle wall shadow, consider supplementing with a dedicated desktop plant light or shifting the container to a nearby filing cabinet that receives broader room illumination.
Handling Weekend Temperature Drops and Drafts
Office microclimates change dramatically between Friday evening and Monday morning when HVAC systems switch to energy-saving modes. While these plants tolerate standard indoor temperatures comfortably between 60 and 85 degrees Fahrenheit, they suffer when exposed to cold drafts from leaky window seals or direct air-conditioning vents. Keep containers away from exterior doors and heavy-duty supply vents. Sudden chills combined with damp soil invite root rot, so stable placement away from high-velocity air streams is a vital part of long-term placement strategy.
Temperature fluctuations are particularly harsh during seasonal transition periods. When autumn brings nighttime chill to commercial buildings, perimeter heating units cycle on aggressively, creating alternating waves of dry heat and sudden cooling. If your office plant sits directly on a cold concrete floor near a glass facade, place a wooden riser or decorative trivet underneath the cachepot to insulate the roots from thermal shock.
Watering and Soil Guidance to Prevent Root Rot
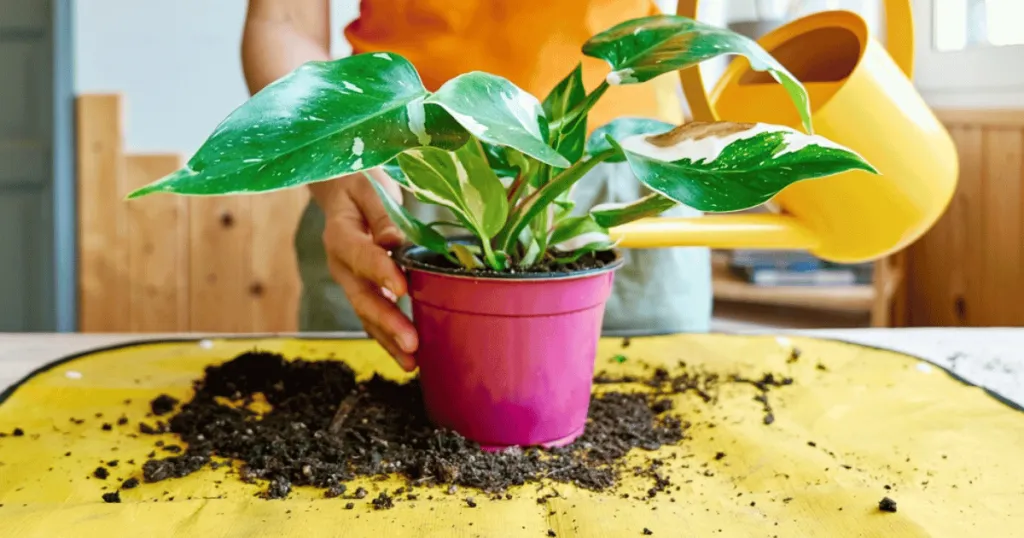
Watering mistakes account for the vast majority of plant losses in corporate settings. Because these specimens store moisture internally, they handle underwatering gracefully while failing quickly when kept perpetually moist. A common mistake is giving them small sips of water on a rigid weekly schedule. Instead, allow the potting mix to dry out completely from top to bottom before introducing moisture again. In a typical climate-controlled office, this means weeks can pass between waterings, especially during shorter winter days.
Effective indoor plant watering routines require moving away from the office calendar and relying entirely on physical soil diagnostics. Because office workers are busy with administrative tasks, scheduling a generic Friday watering session often results in saturated soil that never dries out. Master the habit of checking soil moisture levels manually before reaching for the watering can. If you pull up a handful of soil or test the root zone with a moisture meter and find any lingering dampness, delay watering for another week.
Selecting the Right Soil and Container Setup
Heavy, moisture-retentive potting soil will hold water around the roots for too long, setting the stage for fungal decay. You need a fast-draining medium designed for succulents or cacti, amended with perlite or coarse sand to improve aeration. The container itself must feature functional drainage holes at the base. Decorative cachepots without drainage holes trap excess runoff at the bottom, which invariably leads to root failure. If you use a decorative outer pot, always remove the inner nursery container to water thoroughly, allow it to drain completely in the sink, and only return it to the display pot once all dripping stops.
When repotting or setting up a new desk plant, avoid packing the potting mix down too tightly. Air pockets in the soil are essential for root respiration and nutrient uptake. Using a specialized succulent soil mix ensures that even if excess water is accidentally applied, the heavy porosity of the medium allows rapid drainage away from sensitive underground rhizomes.
Seasonal Adjustments to Your Watering Schedule
Your watering frequency should mirror seasonal changes in natural light and indoor temperature. During the spring and summer active growing season, the plant consumes moisture faster, requiring water every three to four weeks depending on ambient humidity and light levels. In autumn and winter, growth slows dramatically. During these colder months, you may only need to provide water every six to eight weeks. When in doubt, insert a wooden dowel deep into the container; if any soil clings to it or the wood feels damp, wait another week before checking again.
As daylight hours diminish in corporate spaces, metabolic activity slows down. Failing to reduce your watering frequency during winter is the leading cause of plant mortality in professional environments. Adjusting your care mindset to match the resting phase ensures your greenery survives low-light, low-temperature months without developing soggy roots.
Humidity, Temperature, and Feeding Requirements
Modern office buildings feature aggressive heating, ventilation, and air conditioning systems that strip moisture from the air, creating a dry indoor desert. Fortunately, these conditions pose zero problem for this species. Unlike delicate tropical ferns or calatheas that demand constant misting and humidifier setups, this plant adapts effortlessly to low humidity levels without developing brown tips or crispy edges.
While office air is notoriously dry, it rarely drops below the survivable threshold for desert-adapted flora. This makes them ideal candidates for sterile corporate boardrooms, executive suites, and legal offices where high-maintenance foliage is impractical. You never need to worry about setting up pebble trays or running noisy desktop humidifiers to keep the leaves looking pristine.
Temperature Thresholds and Thermal Shock
While these hardy specimens tolerate standard indoor temperatures year-round, they are sensitive to freezing drafts. Temperatures dropping below 50 degrees Fahrenheit cause cellular damage to the leaves, leading to soft, water-soaked patches that eventually turn mushy and black. Ensure your office space remains comfortably warm during winter weekends.
Thermal shock also occurs when office buildings undergo weekend HVAC shutdowns. If your desk plant sits against a poorly insulated exterior wall, winter temperatures can plunge overnight. Maintaining a safe buffer distance between exterior windows and your plant display protects delicate cellular walls from freezing injury.
Fertilizing for Controlled Growth
Heavy feeding is unnecessary and often counterproductive. These plants are slow growers that do not require high nutrient levels. Apply a balanced, water-soluble fertilizer diluted to half strength just once or twice during the spring and summer growing season. Skip fertilization entirely from autumn through winter when the plant rests. Excess fertilizer salts accumulate in the potting mix, burning the root system and causing leaf tips to brown.
Because office plants operate under lower light conditions than outdoor specimens, their capacity to process synthetic nutrients is limited. Over-fertilizing leads to a buildup of mineral salts in the soil profile, which stunts growth and causes unsightly leaf edge browning. Keep plant nutrition minimal and focused strictly on the active spring growth phase.
Repotting, Pruning, and Propagation Techniques
Because these plants have modest root systems and actually prefer a slightly snug container, you will rarely need to repot them. In fact, crowding often encourages upright growth and prevents the tall leaves from tipping over. Plan on repotting every three to five years, or when you notice thick roots pushing aggressively against the sides of a plastic nursery container or cracking a rigid ceramic pot.
A structured repotting schedule prevents rootbound specimens from splitting brittle containers while maintaining optimal soil aeration. When performing routine maintenance, inspect the root mass for signs of overcrowding or circling roots. Upgrading to a container just one size larger gives the plant room to expand without overwhelming its natural growth rate.
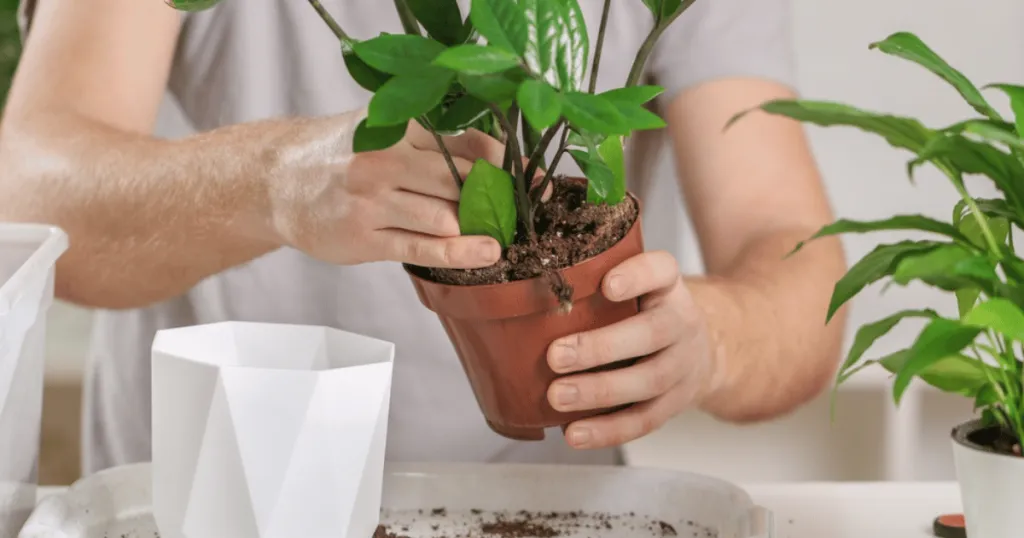
Step-by-Step Repotting Guide
- Select a new container that is only one size larger, ensuring it has adequate drainage holes.
- Gently ease the plant out of its current pot by supporting the base of the stems and tilting it sideways.
- Inspect the root mass, trimming away any soft, blackened, or decaying roots with clean shears.
- Place a layer of fresh, fast-draining succulent soil at the base of the new container.
- Position the plant at the same soil depth it previously enjoyed, filling in around the root ball with fresh mix and pressing gently to stabilize the stems.
Following a precise repotting workflow ensures minimal stress on the structural root system. Always use clean, sanitized pruning tools when trimming away dead growth to prevent the introduction of opportunistic bacteria or fungal spores into fresh cuts.
Pruning Away Damaged Foliage
Pruning is straightforward and mostly cosmetic. Use sterile, sharp shears to cut away any yellowed, scarred, or mechanically damaged leaves right at the soil line. Never cut a leaf in half horizontally to shorten it, as the cut edge will scar, stall growth, and look unnatural. Removing older, spent leaves redirects plant energy toward fresh, vigorous shoots emerging from the soil.
Office environments frequently subject plants to mechanical damage from rolling chairs, cleaning carts, or passing foot traffic. Snapped or deeply scratched leaves will not heal themselves; cutting them cleanly away at the base protects the overall plant health and maintains a polished, professional appearance in the workplace.
Propagation Methods
You can easily multiply your office collection using division or leaf cuttings. Division is the most reliable method; simply separate a clustered clump of stems and roots during repotting, ensuring each new section has healthy roots attached, and pot them individually. Leaf cuttings work too, though solid-colored varieties will revert to plain green if propagated from leaf sections rather than rhizome divisions.
Propagating office plants is a great way to expand greenery across multiple workstations without incurring additional workplace budget costs. By dividing healthy rhizomes during routine repotting, office managers can easily furnish collaborative spaces and private offices with matching architectural displays.
Seasonal Adjustments and Common Care Mistakes
Navigating seasonal transitions in an office requires shifting your mindset from routine maintenance to mindful observation. As daylight hours shorten in the fall, metabolism slows down. Moving plants closer to windows during winter months helps compensate for weaker solar intensity, but be careful not to let foliage touch cold glass panes.
Adapting your workplace maintenance routine to reflect seasonal shifts ensures your indoor specimens remain healthy year-round. Pay close attention to changes in natural light angles as seasons progress, repositioning containers to maximize available illumination without exposing foliage to temperature extremes.
Avoiding Common Pitfalls
The single most frequent error is overwatering. If you notice lower leaves turning yellow, soft, and mushy at the base, stop watering immediately and inspect the roots for rot. Another mistake is ignoring dust accumulation on the broad leaves. Dust blocks light absorption, so wipe the leaves down with a damp cloth every few weeks to keep them functioning efficiently. Finally, avoid placing pots where rolling office chairs or heavy foot traffic can bruise or snap the rigid leaves.
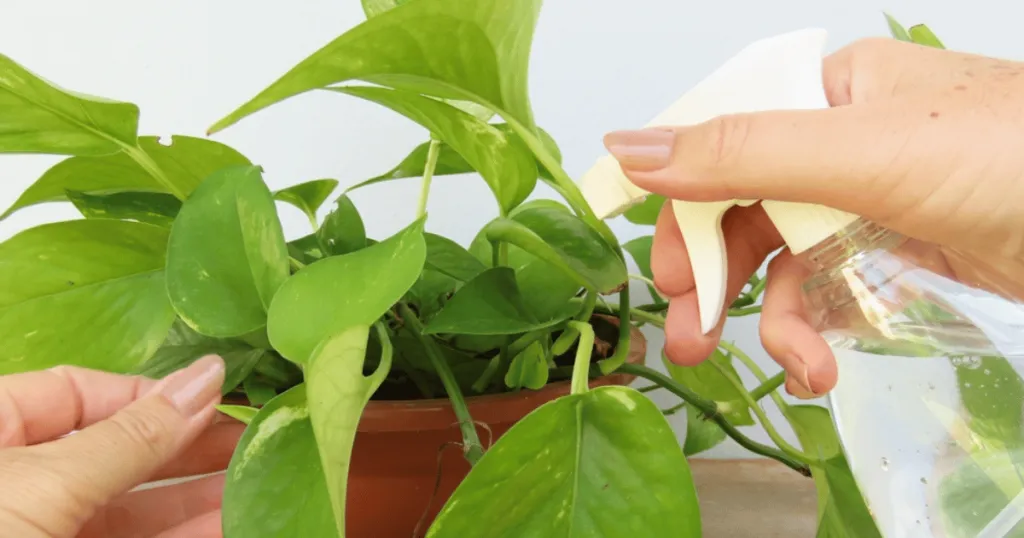
Maintaining a clean leaf surface is essential for indoor plants that rely on ambient light. In busy commercial spaces, airborne dust particles quickly settle on broad foliage surfaces, reducing photosynthetic efficiency. Incorporating a quick wipe-down into your regular office cleaning checklist keeps your displays vibrant and functional.
Related Snake Plant Guides
FAQ
Why are the leaves on my office plant turning yellow and mushy?
Yellow and mushy leaves are the classic symptom of overwatering or poor soil drainage. When roots sit in soggy soil for too long, they rot and can no longer transport water and nutrients upward. Stop watering immediately, let the soil dry out completely, and trim away severely damaged stems.
Can this plant survive in an office with zero natural sunlight?
Yes, it tolerates low-light environments better than almost any other indoor plant. However, windowless rooms relying entirely on fluorescent or LED office lighting will cause growth to slow dramatically and may cause the leaves to stretch or lose their bright variegation.
Is this plant safe to keep around office pets or therapy dogs?
According to ASPCA guidance on toxic and non-toxic plants, this species is considered mildly toxic to cats and dogs. It contains saponins, which can cause localized mouth irritation, drooling, vomiting, or diarrhea if chewed or ingested by pets. Keep plants out of reach if office animals tend to nibble on greenery.
How often should I water my desk plant during the winter months?
During winter, lower light levels and indoor heating slow the plant down significantly. You will typically only need to water every six to eight weeks. Always check that the soil is completely dry several inches down before adding moisture.