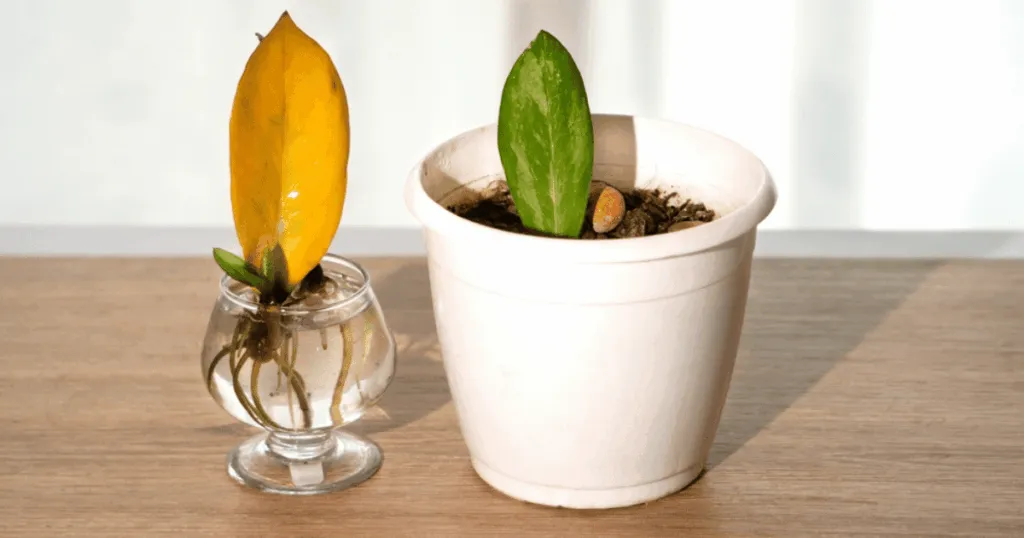
When you successfully identify the precise moment to move your cutting from water to soil, you unlock the secret to long-term office plant vitality. How to know when a propagated cutting is ready to pot is the key to success; by following the correct indicators of root maturity, you can expect your newly potted plant to establish itself quickly in its new home, minimizing transplant shock and ensuring that your desk or reception area remains vibrant without the need for constant recovery cycles. This transition is the bridge between a temporary experiment and a permanent, thriving addition to your workspace greenery.
Achieving this transition successfully means your plant will continue growing steadily, adapting to the specific conditions of your office environment – whether that is the consistent, filtered light of a cubicle or the slightly drier air caused by building-wide HVAC systems. When you wait for the right signs, you avoid the common pitfalls of premature potting, setting the stage for a resilient plant that can withstand the occasional weekend of neglect or the fluctuating temperatures typical of professional environments.
The Short Version
A cutting is ready to pot when its roots reach at least two to three inches in length and show secondary root branching. Waiting for this length ensures the plant has sufficient surface area to absorb water from soil, preventing the common mistake of potting too early.
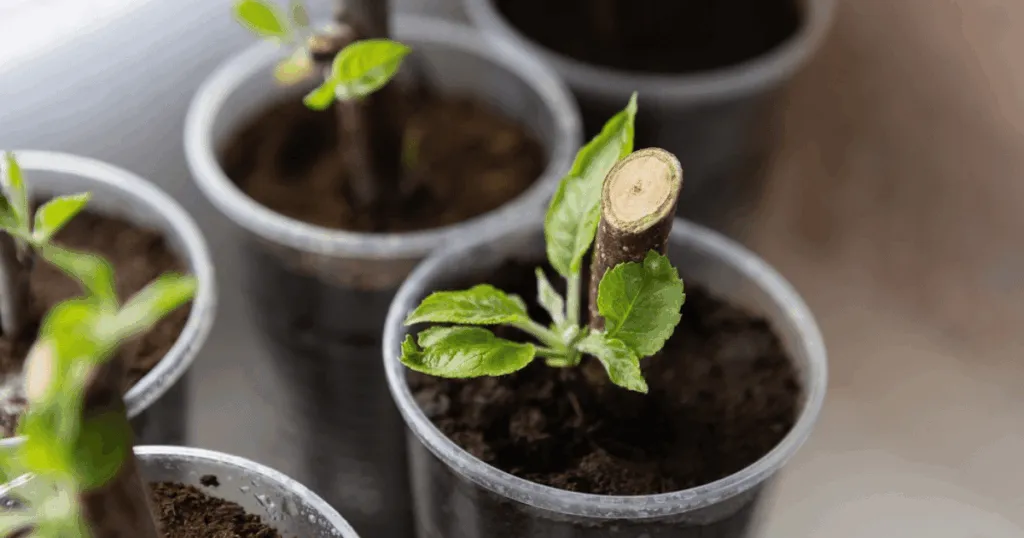
Before You Start: Assessing Your Cutting
Before you even consider moving your cutting, you must evaluate the root system objectively. Many office managers make the mistake of rushing this process because they want to clear up desk space or move a cutting into a decorative pot. However, roots growing in water are adapted to a high-oxygen, high-moisture environment. When you move them to soil, they must adapt to a denser medium that holds water differently.
Check for the presence of secondary roots. Primary roots are the long, singular strands that first emerge from the stem. Secondary roots are the smaller, finer hairs that branch off those main strands. These secondary roots are the workhorses of the plant, responsible for the bulk of water and nutrient absorption. If your cutting only has one long, smooth root, it is not yet ready for the transition. The presence of branching indicates that the root system is mature enough to support the plant’s foliage once it is buried in soil.
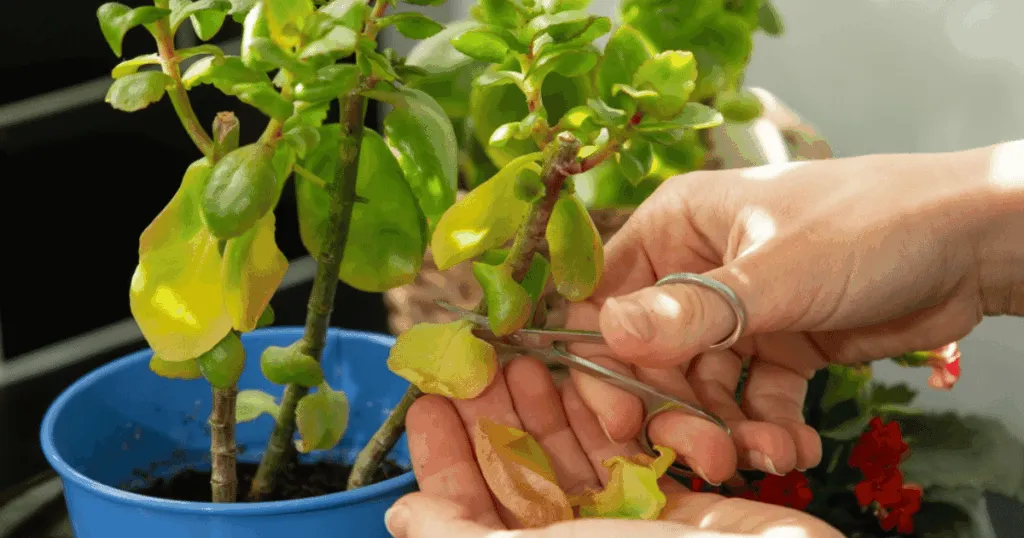
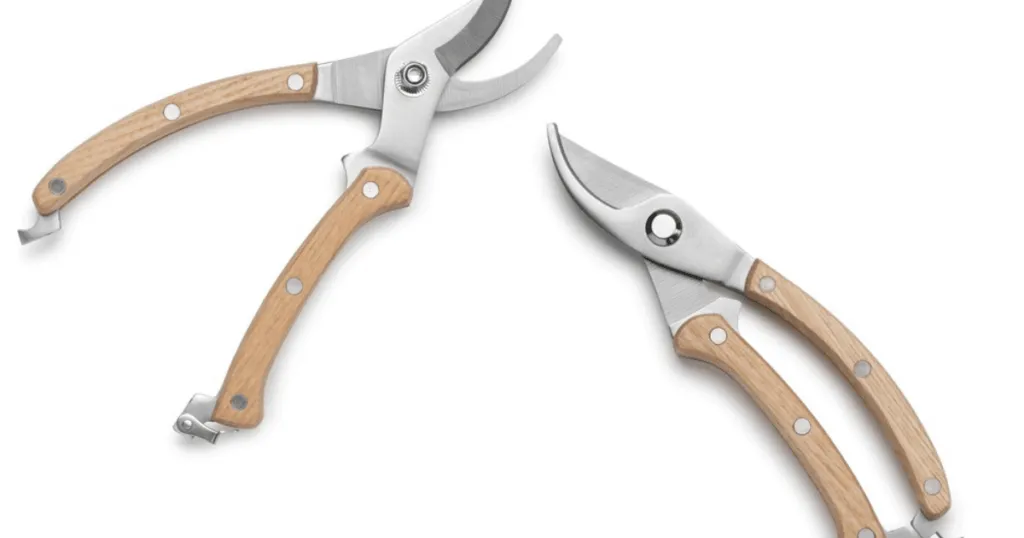
Also, consider the health of the roots themselves. Healthy roots should be firm to the touch and generally white or light tan in color. If you notice any mushy, slimy, or dark brown sections, your cutting is dealing with rot. Potting a cutting with signs of decay will almost certainly lead to the failure of the plant in soil. Address any rot by trimming the affected areas with sterilized shears before you even think about the potting process.
Consider the environmental context of your office. If your office is particularly dry due to constant air conditioning, the transition period is even more critical. A root system that is too small will struggle to pull enough moisture from the soil to compensate for the transpiration occurring through the leaves in a low-humidity environment. By ensuring your root system is robust, you provide the plant with the necessary physiological buffer to survive the transition without wilting.
Prerequisites for a Successful Transition
To successfully pot your cutting, you need the right environment and materials. Avoid using heavy garden soil, which can be too dense and retain too much water for a newly transitioned cutting. Instead, use a high-quality indoor potting mix designed for houseplants. These mixes typically contain peat moss, coco coir, or perlite, which provide the aeration and drainage necessary for delicate new roots.
Select a container that is appropriate for the size of the cutting. A common mistake is choosing a pot that is too large. A large pot contains excess soil that stays wet for too long, which can suffocate the young roots and lead to root rot. Your container should be only slightly larger than the root ball of your cutting. Ensure the pot has drainage holes at the bottom; without them, you cannot reliably manage the moisture levels, which is the most common cause of failure for office plants.
Finally, have a small amount of water ready to lightly moisten the soil as you pack it around the roots. This helps settle the soil and eliminates large air pockets that could leave the roots suspended in empty space. Having these items prepared before you remove the cutting from its water vessel ensures the transition happens quickly, minimizing the time the roots spend exposed to the air.
Steps to Safely Pot Your Propagated Cutting
- Verify root length and density: Ensure your roots are at least two to three inches long and display visible branching. If they are shorter, leave the cutting in water for another week.
- Prepare the new container: Fill the bottom third of your pot with a light, airy indoor potting mix. Gently tap the pot on the desk to settle the soil without compacting it.
- Position the cutting: Hold the cutting in the center of the pot at the desired height. The base of the stem should sit just above the soil line to prevent stem rot.
- Fill around the roots: Carefully add more potting mix around the roots. Use your fingers to gently guide the roots into the soil, ensuring they are spread out rather than bunched together.
- Lightly firm the soil: Use your fingers to press the soil down gently. Do not pack it tightly, as roots need air to breathe. The goal is to provide stability, not to compress the medium.
- Water immediately: Add a small amount of water to the soil to help it settle around the roots. This initial watering is crucial for establishing contact between the roots and the new medium.
- Monitor for the first week: Keep the soil slightly more moist than you would for an established plant for the first seven to ten days. This helps the roots transition from water to soil without drying out.
Understanding the Physiological Shift
When you move a cutting from water to soil, you are forcing a fundamental change in how the plant accesses resources. Water-grown roots, known as water roots, are structurally different from soil-grown roots. They are often thinner and lack the complex root hairs that soil roots develop to anchor themselves and extract nutrients from solid particles. When you pot your cutting, the plant must essentially begin to grow new, soil-adapted roots while simultaneously maintaining its existing foliage.
This is why the transition period is so delicate. If the root system is too small, the plant will prioritize root growth over leaf maintenance, leading to the yellowing or dropping of older leaves. This is not necessarily a sign of failure, but rather a sign that the plant is reallocating energy. By ensuring your cutting has a substantial root system before potting, you provide it with the energy reserves needed to make this transition smoothly.
Common Mistakes to Avoid
The most frequent error is potting a cutting that has long roots but no branching. While it looks like a lot of growth, a single root strand lacks the surface area to support the plant’s metabolic needs in soil. Another mistake is using soil that is too dense. If you use heavy dirt from an outdoor garden, it will likely pack down and suffocate the roots. Always use a dedicated indoor potting mix.
Another common oversight is failing to transition the plant’s moisture needs. Because the plant is used to living in water, it will experience a shock when moved to soil. If you let the soil dry out completely in the first few days, the roots will likely die. Keep the soil consistently, but not soggily, moist for the first week. Finally, do not place the newly potted cutting in direct, harsh sunlight immediately. Give it a few days in a spot with bright, indirect light to allow it to adjust to its new environment.
In an office setting, be wary of placing your newly potted cutting directly under high-intensity fluorescent lights or right next to a window that gets intense afternoon sun. While the plant may eventually tolerate these conditions, the stress of transplanting makes it more susceptible to leaf scorch. Start in a moderate spot and gradually move it to its permanent location over the course of two weeks.
Troubleshooting the Transition
If your cutting wilts shortly after potting, it is often a sign of transplant shock or inadequate moisture contact. First, check the soil moisture. If it is bone dry, add a small amount of water. If the soil is wet but the plant is still wilting, the roots may not be making good contact with the soil. You can gently press the soil down further or add a little more mix to ensure the roots are fully encased.
If you notice the leaves turning yellow or dropping, this is a sign of stress. Ensure the plant is not sitting in a drafty area near an HVAC vent, as fluctuations in temperature and humidity can exacerbate the stress of transplanting. If the stem begins to turn black or mushy at the soil line, you have likely planted it too deep or the soil is holding too much water. In this case, carefully remove the cutting, trim away any rotted tissue, and repot it in fresh, drier soil in a smaller container.
Remember that office environments often have lower humidity than homes. If you notice your plant struggling, consider using a small pebble tray with water beneath the pot to increase local humidity, or group it with other plants to create a more humid microclimate. This simple adjustment can make a significant difference during the first few weeks of the transition.
Long-Term Maintenance After Potting
Once your cutting has survived the first month in soil, it is officially a potted plant. However, the care requirements will shift. You should gradually reduce the frequency of watering as the plant establishes its soil-adapted root system. Over-watering is the most common cause of death for office plants, especially those that have recently transitioned from water. Always check the top inch of soil with your finger before adding more water; if it feels damp, wait another day or two.
Fertilization should also be approached with caution. Do not fertilize your cutting immediately after potting. The potting mix likely contains enough nutrients to sustain the plant for the first few months. Adding fertilizer to a stressed, newly transplanted cutting can actually burn the delicate new roots. Wait until you see signs of active new growth – such as a new leaf or a noticeable increase in stem length – before introducing a diluted, balanced houseplant fertilizer.
Finally, keep an eye on the growth rate. If the plant seems to stop growing entirely, it may be focusing all its energy on root development. This is perfectly normal. As long as the foliage remains firm and the color is healthy, the plant is likely thriving beneath the surface. Patience is the most valuable tool in your office gardening kit.
FAQ
Can I leave a cutting in water indefinitely instead of potting it?
While some plants can survive in water for a long time, they will eventually struggle due to a lack of nutrients and oxygen. Most plants will grow much larger and healthier when moved to a proper soil medium once the roots are established, as soil provides the essential minerals that water alone cannot offer.
What should I do if my cutting has roots but they are very tangled?
If the roots are tangled, gently submerge the root ball in a bowl of lukewarm water. Use your fingers to carefully tease the roots apart. Do not force them, as they are fragile. Once they are loosened, you can proceed with potting as normal, ensuring they are spread out in the new container.
Does the type of pot matter when moving a cutting to soil?
Yes, the pot matters significantly. For a newly propagated cutting, a smaller pot is better to prevent the soil from staying too wet. Ensure the pot has drainage holes, as stagnant water at the bottom of the pot is the primary cause of root rot during the transition phase.
How do I know if my cutting is suffering from transplant shock?
Transplant shock often presents as temporary wilting or drooping leaves shortly after moving the plant to soil. This is normal to a degree as the plant adjusts. If the plant does not recover after a few days of consistent, light moisture and stable, indirect lighting, it may be struggling with the change in root environment.