When your office plants begin to show signs of decline, the culprit is often hiding beneath the surface. Soil compaction is a common issue in professional environments where potting mixes are rarely refreshed and frequent, light watering can lead to a dense, brick-like substrate. Recognizing the early warning signs of soil compaction and how to fix it is essential for maintaining a healthy, vibrant workspace. When soil particles are pressed too closely together, they eliminate the air pockets that roots desperately need to breathe, essentially suffocating the plant even when it appears to be watered regularly.
Addressing this issue early prevents root rot and stunted growth, which are the most common consequences of poor soil structure in indoor settings. By understanding how to restore porosity to your potting medium, you can ensure your office greenery thrives despite the challenges of artificial lighting and climate-controlled air. This guide provides the practical steps needed to assess your plant’s soil health and perform the necessary maintenance to keep your office plants in peak condition.
The Short Version
Soil compaction occurs when potting media loses its structure, preventing water from reaching roots and air from circulating. To fix it, gently aerate the soil with a chopstick or repot the plant into a fresh, well-draining mix designed for indoor containers to restore necessary oxygen flow.
Before You Start
Before you begin the process of fixing compacted soil, you must first verify that compaction is actually the problem. A common mistake in office settings is confusing soil compaction with simple underwatering or root-bound conditions. If you pour water into a pot and it immediately runs out the sides without soaking into the center, or if the soil surface feels hard and pulls away from the edges of the container, you are likely dealing with compaction.
Assess the weight of the pot. A plant in healthy, loose soil will feel relatively light compared to its size. If the pot feels unexpectedly heavy and the soil surface appears sunken or crusty, the internal structure has likely collapsed. You should also check the drainage holes. If they are blocked by dense, silt-like soil, this is a clear sign that the medium has broken down into fine particles that no longer support healthy root respiration.
Preparation is simple but requires a few specific items. You will need a wooden dowel or a clean, blunt chopstick for testing and initial aeration. If the compaction is severe, have a high-quality indoor potting mix on hand, preferably one containing perlite or pumice to ensure long-term structure. Avoid garden soil, which is too dense for indoor containers. Ensure you have a workspace that can handle a bit of debris, such as a breakroom table covered with a plastic sheet or a dedicated maintenance area. If your plant is large or heavy, consider having a colleague assist you to avoid physical strain or accidental damage to the foliage during the repotting process.
Tools and Materials for Soil Restoration
To effectively address compaction, you need tools that allow you to work with the soil without damaging the root system. A long, thin wooden dowel is your primary tool for aeration. It allows you to probe the soil depth without slicing through healthy roots. If you decide that repotting is necessary, you will need a clean container with adequate drainage holes, fresh potting medium, and a pair of sterilized shears for trimming any dead or mushy roots you might encounter during the process.
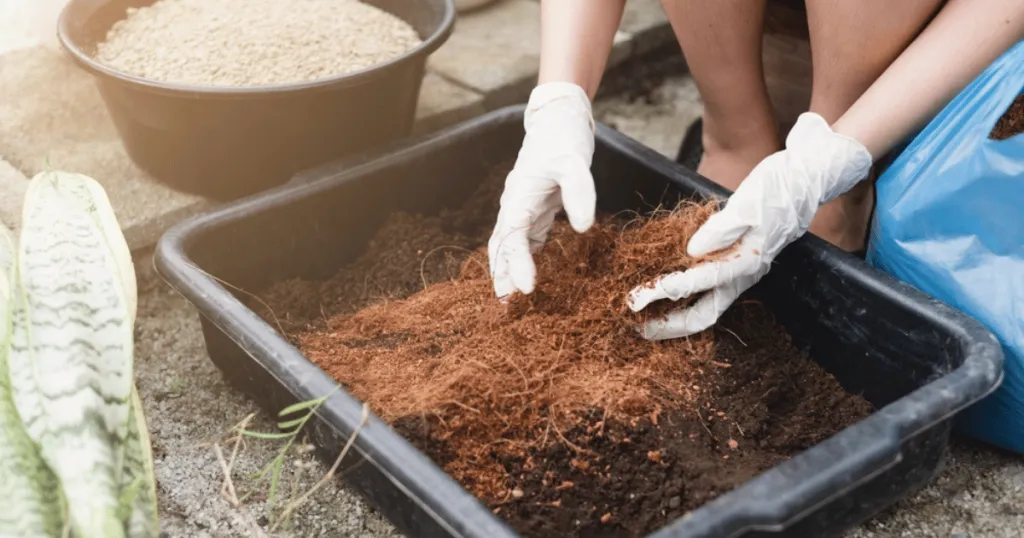
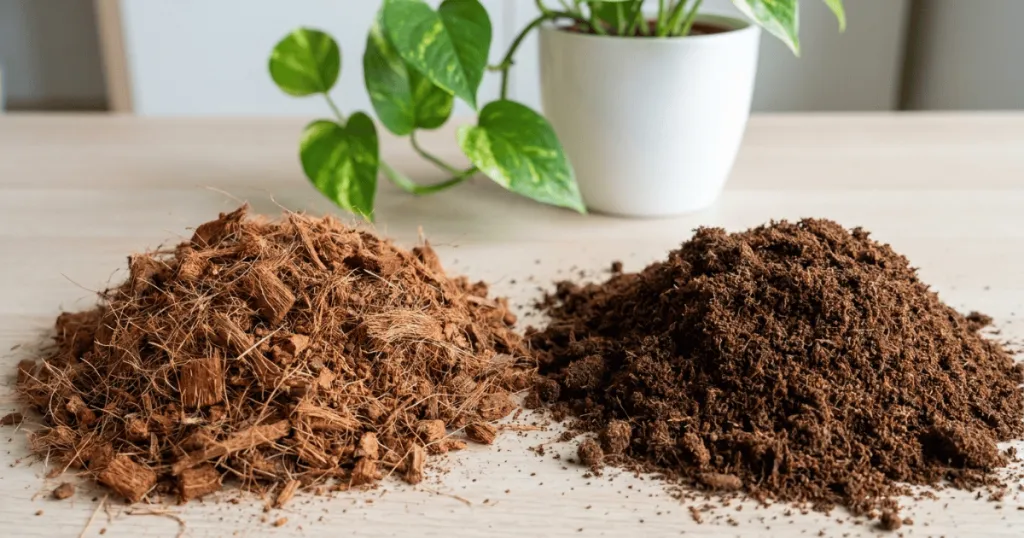
Context is vital: office environments often feature HVAC systems that dry out the air, which can accelerate the breakdown of organic components in potting soil. When selecting a new mix, look for ingredients like coco coir or peat moss combined with coarse perlite. These materials resist compaction better than standard peat-based mixes. Keep in mind that if your plant has been in the same pot for more than two years, the soil has likely lost its structural integrity regardless of how it looks on the surface. In these cases, a full refresh is almost always more effective than simple aeration.
Understanding the Mechanics of Compaction in Office Settings
In a typical office, plants are subjected to unique stressors that accelerate soil degradation. Unlike outdoor gardens where earthworms and natural freeze-thaw cycles keep soil aerated, indoor containers are static environments. The constant, dry airflow from HVAC systems pulls moisture from the soil surface, leading to rapid evaporation and the formation of a hard, crusty layer. This crust prevents water from penetrating, forcing it to channel down the sides of the pot – a phenomenon known as ‘soil channeling.’ Over time, the organic matter in the potting mix, such as peat moss, breaks down into smaller particles that fill the voids where air should be. This loss of porosity is the primary driver of root suffocation. Recognizing that this is a structural failure of the medium, rather than a lack of water, is the first step in effective plant maintenance.
How to Fix Compacted Soil: A Step-by-Step Approach
Follow these steps to restore your plant’s environment. If the compaction is mild, you can often fix it without removing the plant from its pot.
- Test the soil structure: Gently insert your chopstick or dowel into the soil near the edge of the pot. If it meets significant resistance, the soil is compacted. If it slides in easily, the issue may be elsewhere.
- Perform gentle aeration: If the soil is only moderately compacted, use the dowel to poke several holes throughout the root zone. Be careful to avoid the main root ball. This creates channels for water and air to reach the deeper roots.
- Hydrate from the bottom: Once aerated, place the pot in a shallow tray of water for 30 minutes. This bottom-watering technique allows the soil to absorb moisture evenly, which helps expand the soil particles and further loosen the structure.
- Consider a top-dressing refresh: If the surface is crusty, remove the top inch of old soil and replace it with fresh, porous potting mix. This improves water infiltration during your regular maintenance schedule.
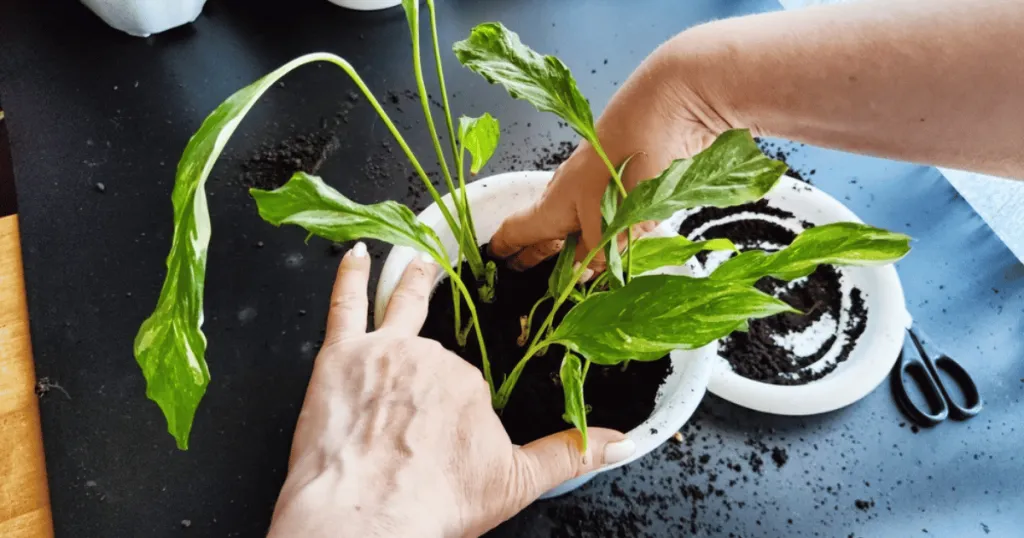
- Repot if necessary: If the plant remains stunted or the soil does not hold water properly after aeration, it is time to repot. Carefully remove the plant, gently tease away the old, dense soil from the roots, and transplant it into a slightly larger container with fresh, airy mix.
- Monitor recovery: After addressing the soil, your plant may experience a brief period of adjustment. Avoid fertilizing for at least four weeks, as the roots need time to establish themselves in the new, aerated environment.
The Role of Substrate Composition in Preventing Future Issues
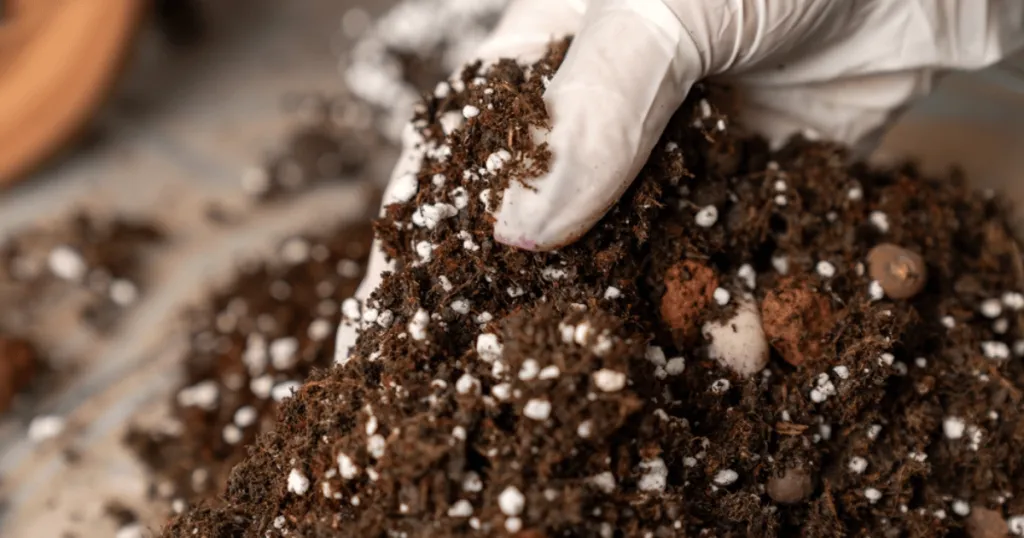
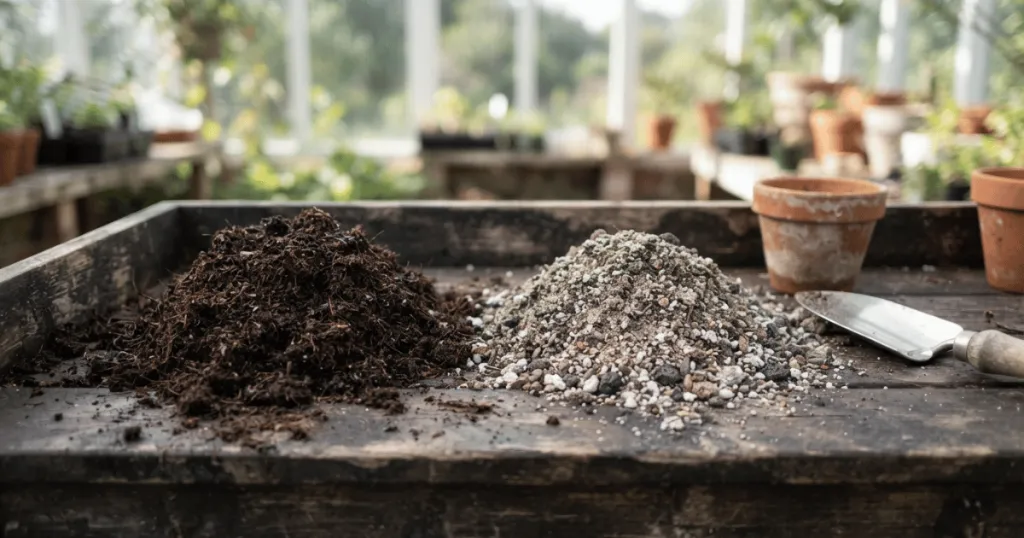
Preventing compaction starts with the choice of substrate. Many office plants arrive in dense, peat-heavy mixes that are designed for greenhouse efficiency rather than long-term office survival. When you repot, aim to improve the structural integrity of the medium. Incorporating inorganic amendments like perlite, pumice, or expanded clay pebbles increases the porosity of the mix. These materials do not break down over time, ensuring that even as the organic components decompose, the soil retains enough air space for root respiration. For office managers, choosing a ‘chunky’ mix – often referred to as an aroid mix – can significantly reduce the frequency of maintenance tasks. These mixes are designed to drain quickly, preventing the waterlogged conditions that often lead to the anaerobic environments where root rot thrives.
Common Mistakes to Avoid
One of the most frequent errors is attempting to fix compaction by simply adding more water. When soil is compacted, water often channels around the root ball rather than soaking into it, leading to a false sense of hydration while the roots remain dry. This leads to a cycle of overwatering and root rot. Another common mistake is using heavy, garden-grade soil to top off a pot. This only exacerbates the issue by introducing finer particles that fill the remaining air pockets.
Avoid the temptation to use sharp metal tools like knives or screwdrivers for aeration. These can easily sever healthy roots, creating entry points for pathogens. Always use a blunt wooden or plastic tool. Furthermore, do not skip the step of checking the drainage holes. If the soil has become so compacted that it has clogged the drainage, no amount of aeration will save the plant. In such cases, repotting is the only viable solution to prevent long-term damage.
Troubleshooting Persistent Issues
If you have aerated the soil and refreshed the top layer but the plant still shows signs of wilting or yellowing, the root system may have suffered damage from prolonged compaction. Inspect the roots during the next watering cycle. Healthy roots should be firm and light-colored. If they appear mushy, dark, or emit an unpleasant odor, you are dealing with root rot. In this scenario, you must trim away the damaged roots and repot the plant in entirely fresh, sterile medium.
If the plant is in a very large container that is difficult to move, focus on consistent, light watering and ensure the office environment is not excessively hot. Sometimes, the best approach for large, established plants is to perform a partial soil change over several months, replacing small sections of soil at a time to minimize shock. If you are unsure about the health of the root system, consult with a professional plant service provider, as they have the tools and experience to handle delicate root surgery without compromising the plant’s stability.
Long-Term Maintenance Strategies for Office Environments
Beyond immediate fixes, maintaining soil health requires a proactive approach. In an office, plants are often neglected during holidays or busy periods. Implementing a consistent schedule for checking soil moisture and structure is key. Use the ‘finger test’ or a moisture meter to gauge the internal state of the pot. If the soil feels consistently hard or the plant seems to wilt despite moist soil, it is time to intervene. Additionally, consider the impact of water quality. Hard water, which is common in many office buildings, can leave mineral deposits in the soil that contribute to compaction over time. Using filtered water or allowing tap water to sit for 24 hours can help mitigate this. By viewing soil health as a foundational aspect of plant care, you can create a more resilient office landscape that requires less frequent intervention and provides a more consistent aesthetic for your workspace.
FAQ
How often should I check my office plants for soil compaction?
We recommend checking your plants every six months. In office environments, the constant airflow from HVAC systems can cause soil to dry out and lose its structure faster than in a home setting. A simple probe with a wooden dowel during your regular maintenance routine is sufficient to catch signs of soil compaction and how to fix it before the plant shows visible stress.
Can I use a fork to aerate my plant soil?
While a fork might seem convenient, it is generally too wide and can damage the root system. We suggest using a thin, blunt wooden chopstick or a bamboo skewer. These tools are narrow enough to create air channels without tearing through the delicate root hairs that are essential for nutrient uptake.
Why does my plant soil pull away from the sides of the pot?
When soil pulls away from the sides, it is a classic sign of extreme compaction and dehydration. The soil has lost its ability to hold moisture and has physically shrunk. This creates a gap where water simply runs down the sides of the pot instead of reaching the roots. This is a clear indicator that you need to repot the plant into fresh, high-quality medium.
Is it better to repot or just top-dressing the soil?
Top-dressing is a temporary fix for minor surface compaction. If the entire root ball is dense and water-repellent, top-dressing will not solve the issue. Repotting is the only way to ensure the entire root system has access to the oxygen and moisture it needs. If the plant has been in the same soil for over two years, repotting is the most reliable path to long-term health.