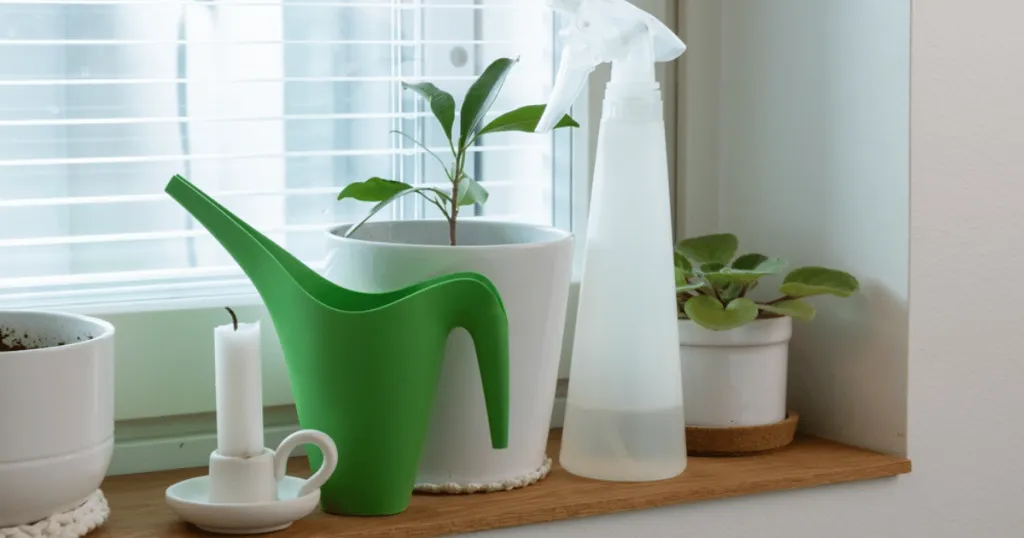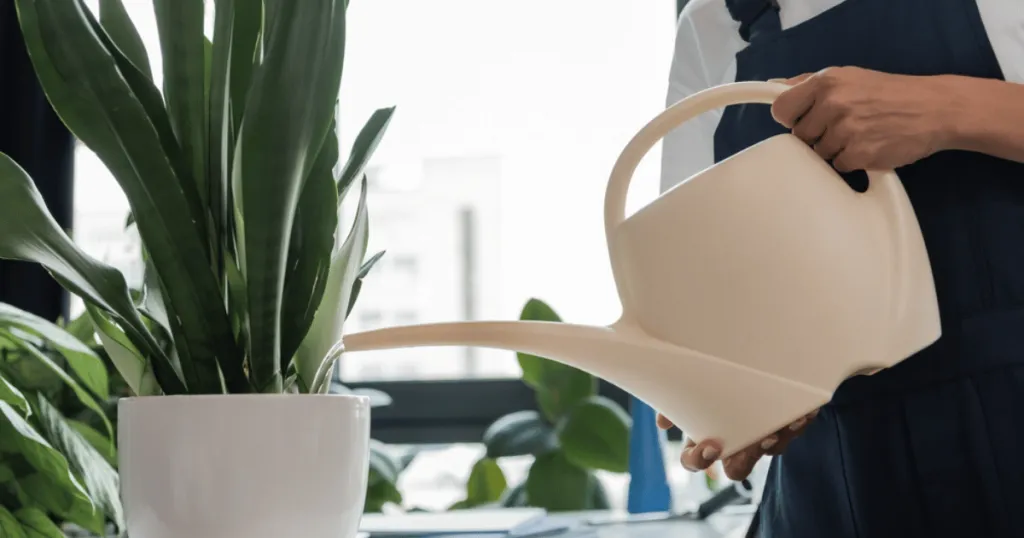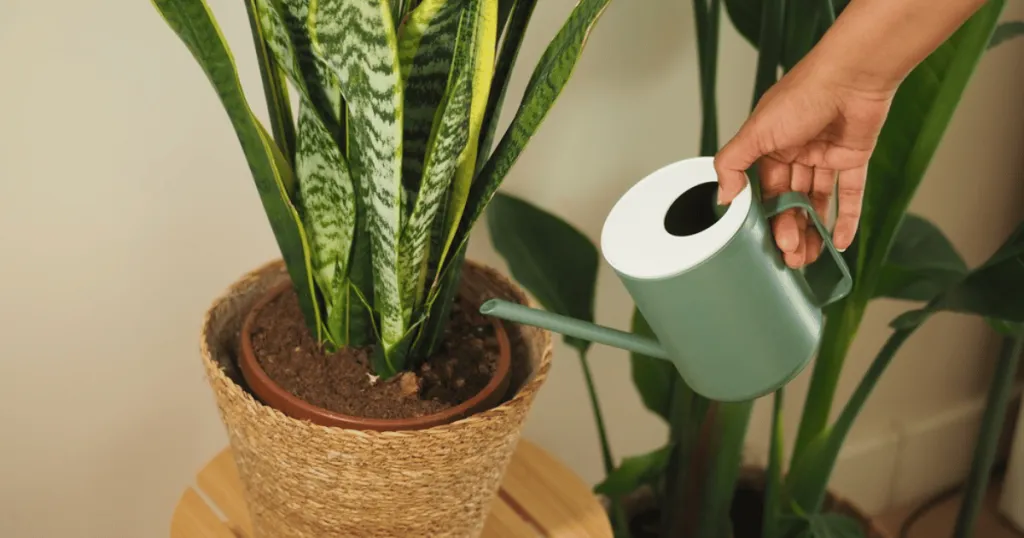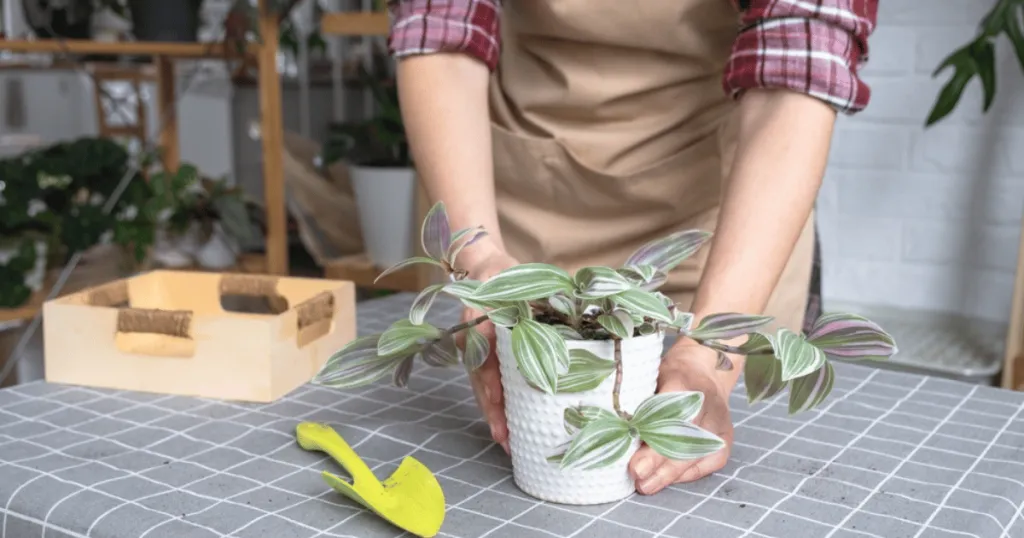
Bottom watering method explained does not mean dunking an entire desk container into a deep sink and letting it soak indefinitely until the potting medium turns to mud. Many workplace managers assume this technique involves flooding a saucer or soaking foliage from below, but it is actually a precise hydration strategy driven by physics rather than brute force. When you manage office greenery, keeping soil evenly moistened without rotting roots under fluorescent lighting is a constant balancing act.
This technique relies on capillary action to draw moisture upward through drainage holes, saturating the root zone from the bottom of the container while keeping the surface dry. Understanding this practice transforms how you manage office flora, especially when dealing with dense peat-based mixes that resist traditional top-down drenching after drying out in climate-controlled indoor environments.
Office spaces present unique environmental challenges for interior foliage. HVAC systems blast dry air, open office layouts feature fluctuating temperatures, and plants often sit neglected over long weekends. Traditional watering methods frequently fail in these conditions because dry potting mix becomes hydrophobic, allowing water to channel down the sides of the nursery pot and out the bottom without ever reaching the actual root ball.
Using an upward soaking approach solves this by forcing dry substrates to rehydrate fully from below. It is a reliable maintenance routine that protects delicate foliage, prevents surface soil compaction, and eliminates the common issue of dry air pockets forming inside the root zone of your favorite desktop greenery.
What This Means
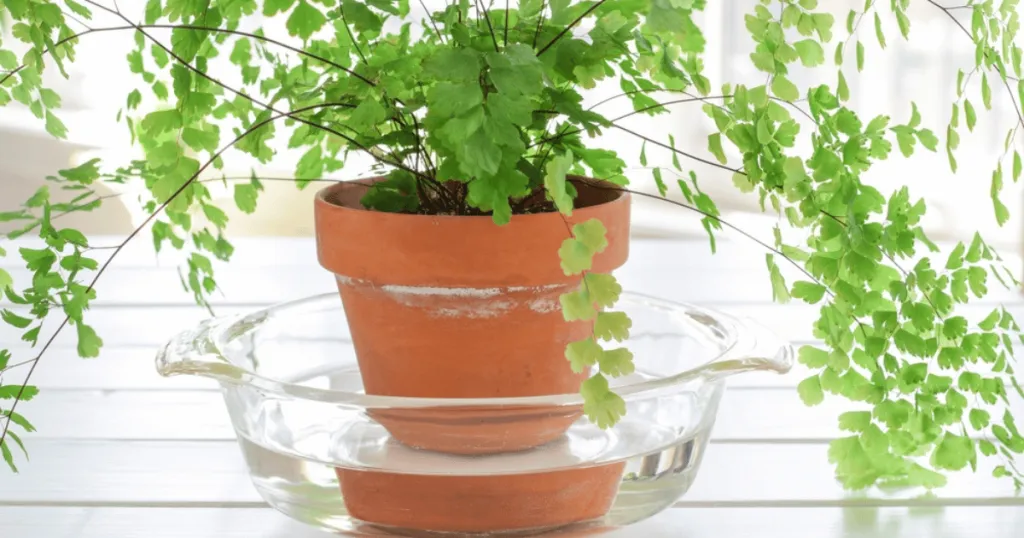
Bottom watering method explained simply means setting a potted plant into a shallow basin of water and letting the soil absorb moisture upward through gravity and capillary action until the top layer feels damp, which tells you it is time to remove it and let the excess drain completely.
Simple Explanation of Sub-Irrigation Mechanics
At its core, this hydration technique is all about physics. Instead of pouring water over the top of the soil and hoping it distributes evenly, you place a potted plant into a vessel filled with a few inches of water. The dry soil particles and the tiny air spaces between them act like a wick. Through capillary action, moisture moves upward against gravity, climbing through the root ball until the top inches of soil become slightly damp to the touch.
This upward movement is especially beneficial for office environments where pots often sit on saucers that catch mineral crusts. When you water from the top, water soluble fertilizers and mineral salts from tap water wash downward and accumulate at the bottom of the pot. Over time, this creates a toxic chemical buildup that burns root tips. Shifting to an upward soaking routine helps flush or at least redistribute these salts more evenly, or gives you a chance to occasionally rinse the pot from above while relying on bottom soaking for regular maintenance.
Consider the physical structure of typical office containers. Most desk plants live in plastic nursery pots with multiple drainage holes at the base, which are then placed inside decorative cachepots. This setup makes upward soaking remarkably straightforward. You simply lift the inner nursery pot, place it in a basin of water for twenty to thirty minutes, and return it to its decorative holder once the excess liquid has finished dripping away. This keeps your office desk clean, avoids staining corporate furniture, and ensures the root system receives a thorough, uniform drink.
How It Works Step-by-Step
Executing this technique correctly requires following a specific sequence to avoid over-saturating the potting medium or damaging delicate feeder roots. Here is the operational breakdown for maintaining office plants using this approach.
Preparing the Water Basin
Start by selecting a clean container, tray, or sink large enough to hold the base of your plant pot. Fill the basin with room-temperature water until it reaches a depth of one to two inches. Avoid using ice-cold tap water, as sudden temperature drops can shock indoor flora, especially tropical species thriving in stable office temperatures.
Soaking and Monitoring
Place the potted plant directly into the water. Ensure the water level does not spill over the rim of the pot, as floating soil creates a mess. Let the pot sit undisturbed for fifteen to forty-five minutes, depending on the container size. Larger floor plants in ten-inch pots will require significantly more time to draw moisture upward than a small pothos sitting in a four-inch desk pot.
Checking for Saturation
Test the top surface of the soil with your finger. Once the uppermost layer feels slightly cool and damp, the root ball is fully saturated. Do not leave the pot sitting in water for hours or overnight, as prolonged saturation suffocates roots by cutting off oxygen supply in the soil pores.
Draining Excess Moisture
Lift the pot out of the basin and allow it to drip freely over the sink for five to ten minutes. Never place a dripping pot back onto a wooden office desk or inside a sealed cachepot with standing water at the bottom. Proper drainage is the single most important step in preventing root rot.
Practical Examples in the Workplace
Different office spaces and plant types interact with this watering style in distinct ways. Understanding these scenarios helps you apply the technique effectively across various workplace settings.
Desktop Pothos and Philodendrons
Trailing vines like pothos and heartleaf philodendron are office staples. Their dense root systems in small nursery pots often cause soil to shrink away from the inner walls of the container. Top watering results in water escaping down these gaps instantly. Bottom soaking forces the shrinking soil to re-expand and grip the moisture evenly, reviving a dehydrated plant within minutes.
Large Reception Area Monsteras
Floor plants in large decorative containers pose a logistical challenge because carrying them to a sink is impractical. Facilities managers often use a shallow saucer or a wheeled utility tub brought directly to the plant. Water is poured into the saucer, allowing the heavy root ball to draw up moisture over an hour. Any remaining water is then extracted using a small suction bulb or sponge.
Succulents on Sunny Windowsills
Office succulents and cacti kept on bright window ledges store water in their leaves and rot easily if their crowns stay wet. This method is ideal for them because the foliage and stem bases remain completely dry during the hydration process, drastically reducing the incidence of fungal leaf spot and stem rot.
Related Terms and Concepts
To master indoor plant care, it helps to understand the technical vocabulary surrounding soil hydrology and container design.
Capillary Action
Capillary action is the physical process where liquid flows upward through narrow spaces without the assistance of, and often in opposition to, external forces like gravity. In horticulture, this describes how water moves through the microscopic pores of potting soil and between organic particles to hydrate dry roots.
Hydrophobic Soil
Hydrophobic soil is dry potting mix that repels water instead of absorbing it. This frequently happens in offices with low humidity when peat moss dries out completely. When you pour water on top, it beads up or runs straight through. Bottom soaking breaks this surface tension over time, forcing the dry peat fibers to relax and accept moisture again.
Perched Water Table
A perched water table refers to the saturated zone of soil that forms at the bottom of a container immediately after watering. Gravity pulls water downward, but capillary forces hold a layer of moisture right at the drainage holes. Understanding this helps explain why leaving a pot sitting in a saucer of standing water keeps the lower roots perpetually waterlogged.
Common Misconceptions and Pitfalls
Several persistent myths surround this technique, often leading to accidental plant damage in corporate settings.
The most common misconception is that leaving a plant to soak indefinitely is beneficial. Office workers sometimes place a plant in a full basin on Friday afternoon and leave it all weekend. This starves the roots of oxygen, leading to root rot and yellowing leaves by Monday morning. Another false belief is that this technique eliminates the need to ever water from the top. While bottom soaking handles routine hydration, periodic top watering remains necessary to flush out mineral salt deposits that accumulate near the soil surface.
A final error involves container suitability. This technique only works effectively if the container has functional drainage holes at the very bottom. Solid decorative ceramic pots without inner nursery containers cannot be bottom watered successfully because water cannot enter from below. Trying to flood a solid pot from the bottom just creates a stagnant swamp at the base while leaving the upper roots bone dry.
FAQ
How long should an office plant sit in water during bottom watering?
Most desktop plants need fifteen to thirty minutes to fully absorb moisture through their drainage holes. Larger floor specimens might require up to an hour. Always remove the container once the top layer of soil feels damp to prevent oxygen starvation.
Does bottom watering replace the need to flush mineral salts from office plant soil?
No. While bottom watering distributes moisture evenly, it can concentrate salts at the surface over time. It is best to alternate with an occasional top-down flush every few months to wash away accumulated fertilizer residues.
Can you bottom water plants that are planted directly in solid pots without drainage holes?
No. Capillary action requires direct contact between the water basin and the soil through open drainage holes. Solid pots trap water and lack the airflow needed for healthy root respiration.
Why is the top of my soil still dry after bottom watering?
If the top inch remains dry after forty-five minutes, the potting mix may be severely hydrophobic or the water level in your basin was too shallow. Add a little more water to the basin or gently mist the top layer to jumpstart absorption.